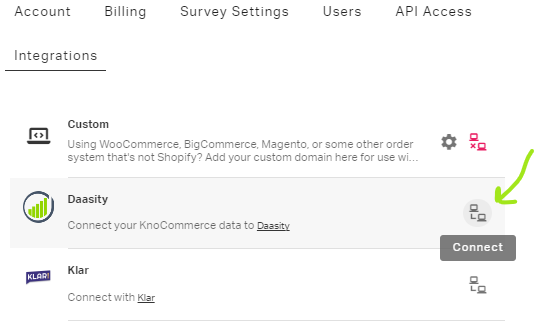
Integration Setup

This page will help you setup {data source} for the first time, and provide instructions for recurring data updates as needed.

Step 1: Navigate to 'New Integration' screen
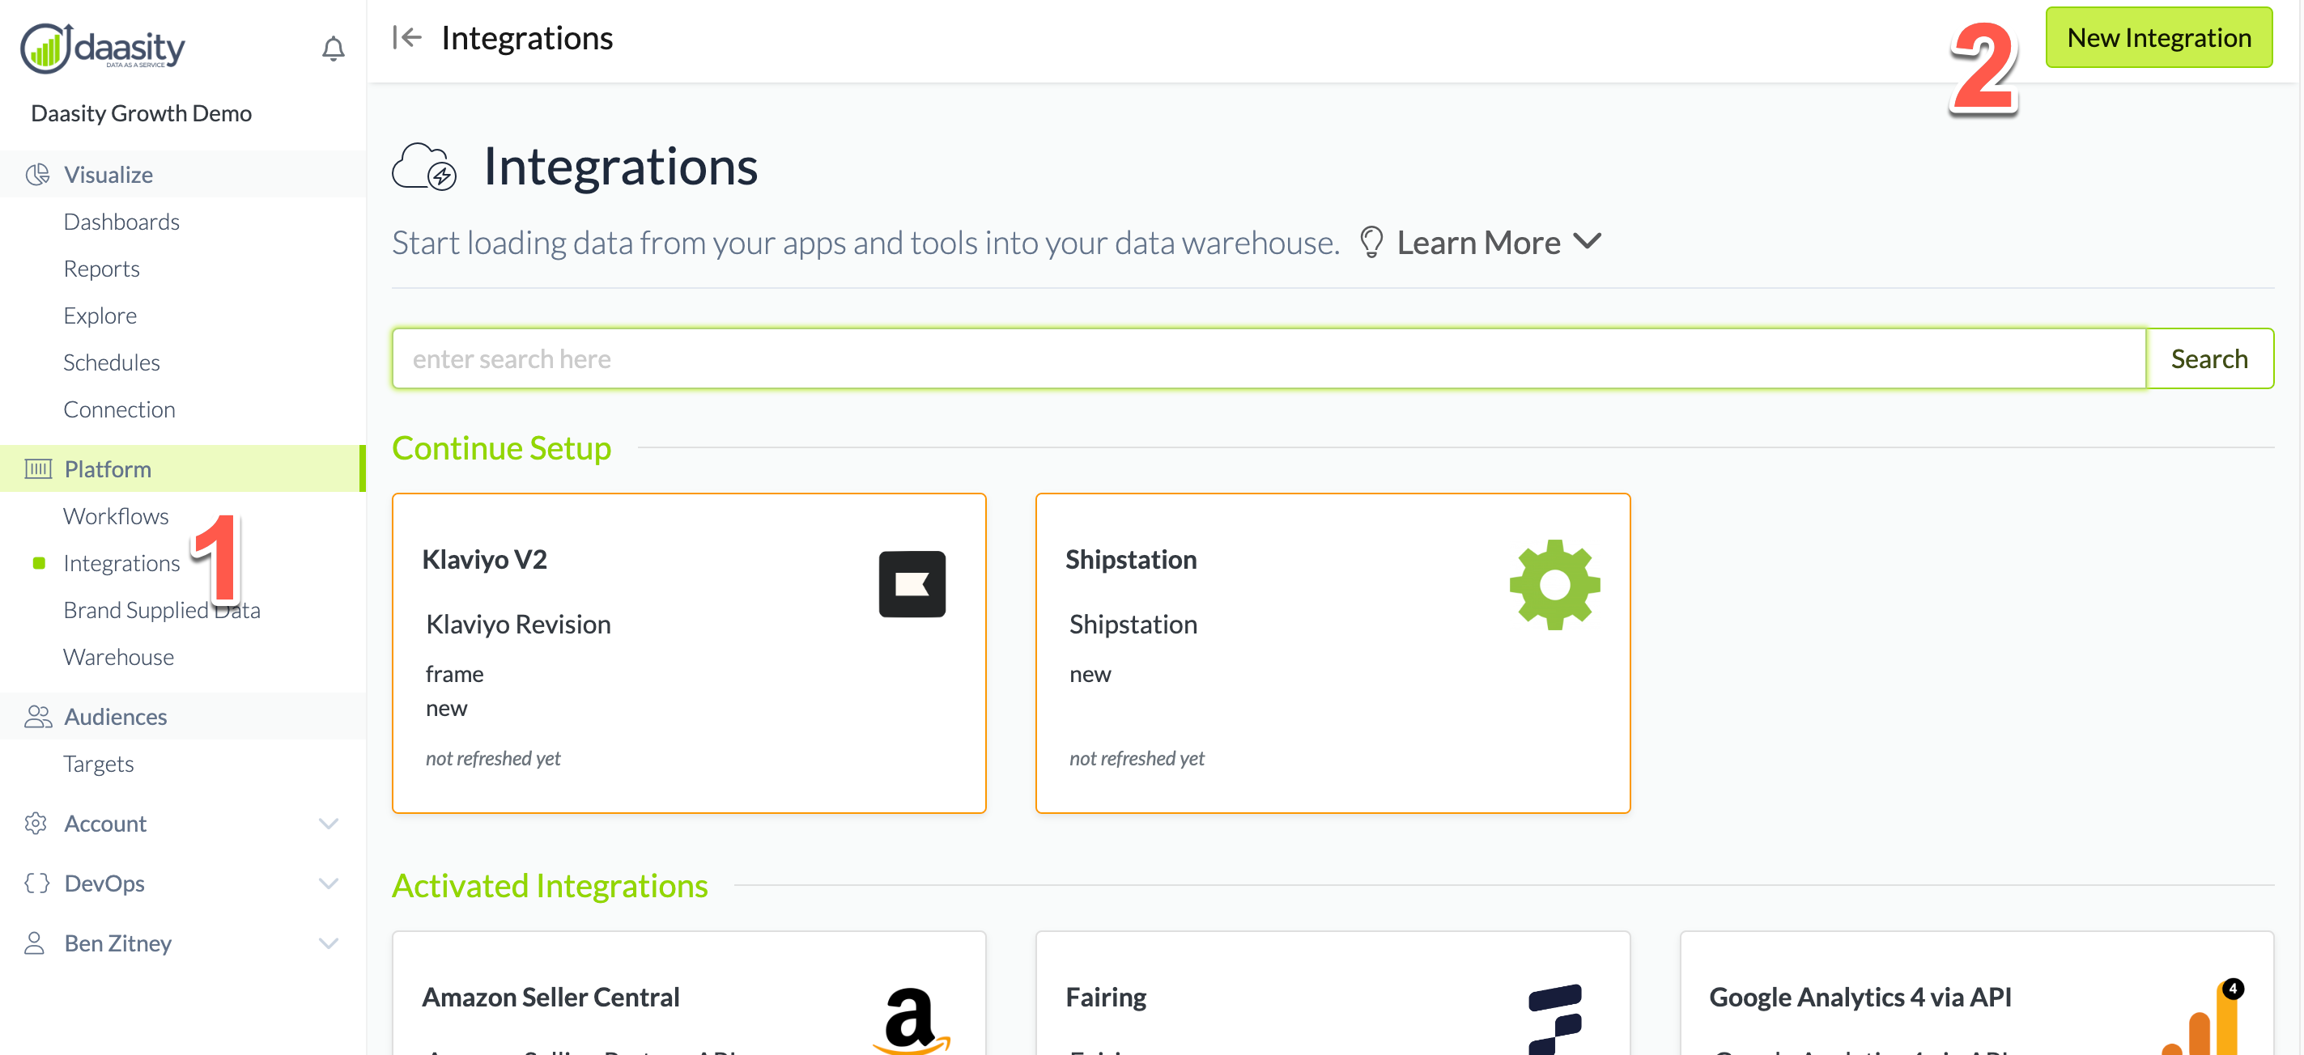
In the Daasity app, click Integrations in the left-hand menu, and then the New Integration button in the upper-right corner.

Step 2: Choose the KnoCommerce integration
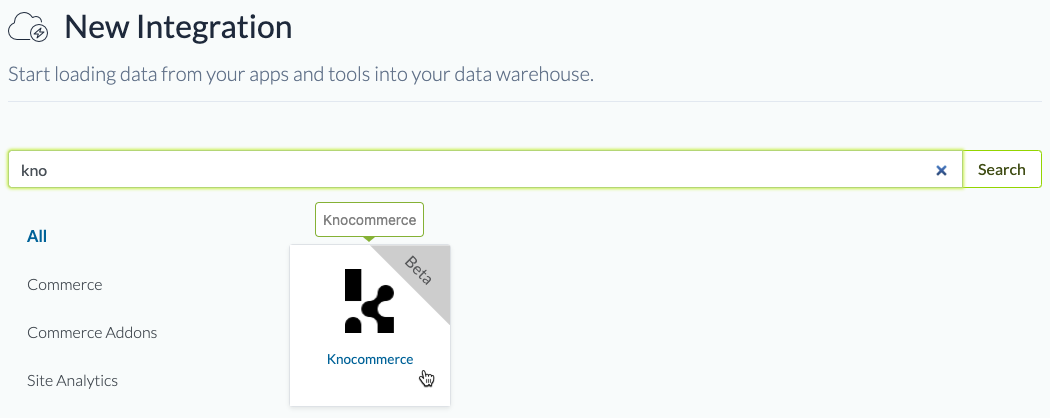
In the search box, type "kno" and choose the KnoCommerce integration.

Step 3: Name the integration

Give the integration a name. This is the name that will be displayed in your integrations list in the Daasity app.

Step 4: Add API Client ID and Client Secret

You can get these in your KnoCommerce app. In the app, navigate to Settings > API Access and click the + sign.

Use the following settings for the key configuration:

  • Name: Daasity

  • App URL: https://app.daasity.com

  • Permissions: All (Attribution, Responses, Surveys, Webhooks, Questions)

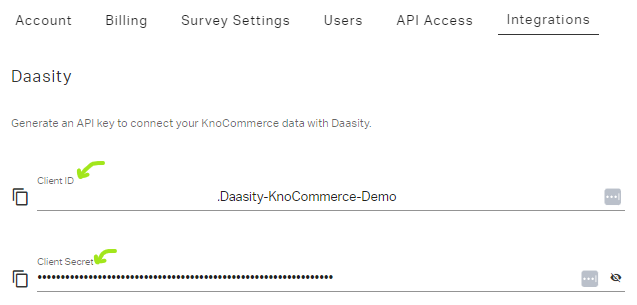
Then, click the edit button for the key you just created. Copy the Client ID and Client Secret values and paste them into the integration configuration in the Daasity app.

Step 5: Load history

From the integration details screen, trigger a load of up to 5 years of history:

Last updated