Create a Snowflake Test Warehouse
This page outlines the steps you need to take to create a test warehouse when you are using Snowflake
Overview
The test warehouse feature allows you to follow good software development practices by enabling you to test your code in a non-production environment before merging your changes into production. Follow these steps to create your test warehouse
Once you are done with the testing you should destroy your test warehouse
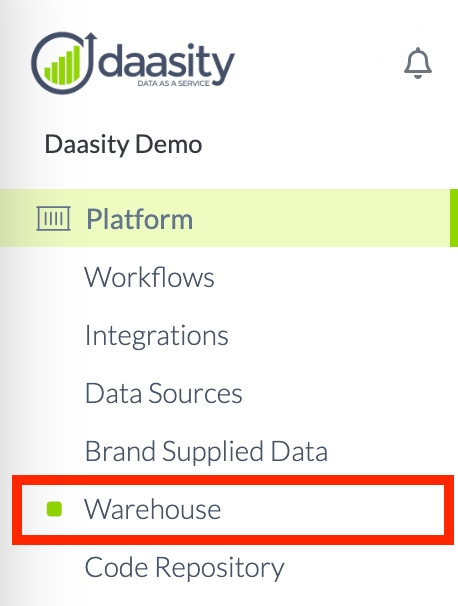
Navigate to the Warehouse screen in the Daasity App

Name & provision your test warehouse
Scroll to the Test warehouse section at the bottom of this screen.
In the Test warehouse section, add a name for your test warehouse. This will be the name of the warehouse that shows up in other sections of the app.
Then click Provision Test Warehouse.

Wait for the warehouse to be provisioned
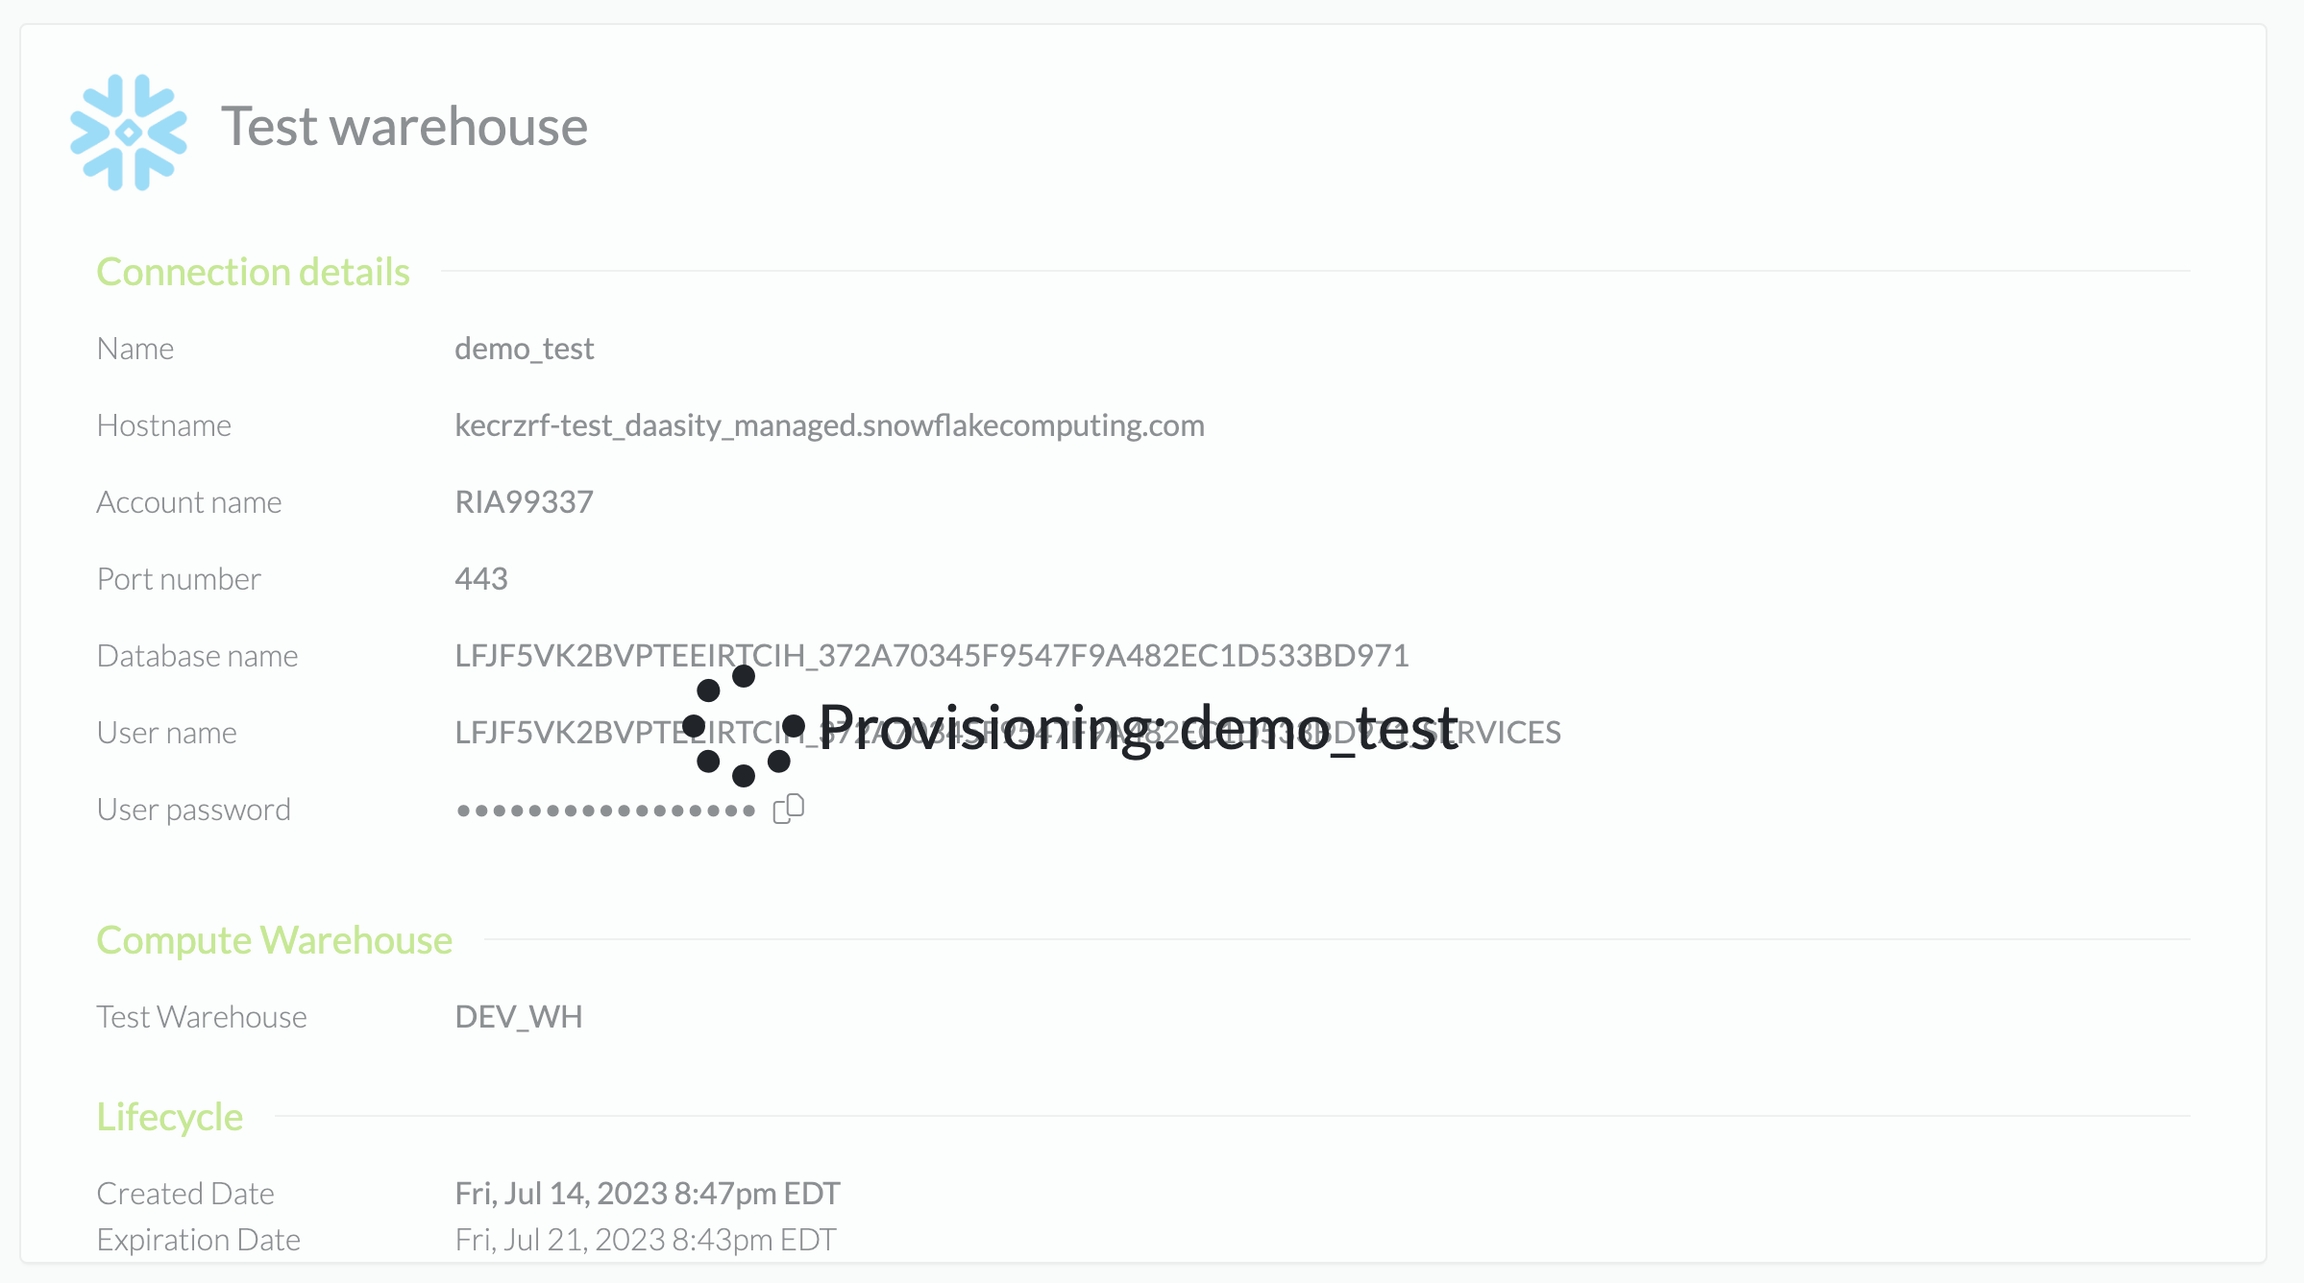
While the warehouse is being set up, you will see a screen similar to this one:
This means your test warehouse provisioning is in progress. The time it takes to complete provisioning will be dependent on the size of your production warehouse. Typically it will take between a few minutes and a half hour.

Connect to your warehouse & use it for testing
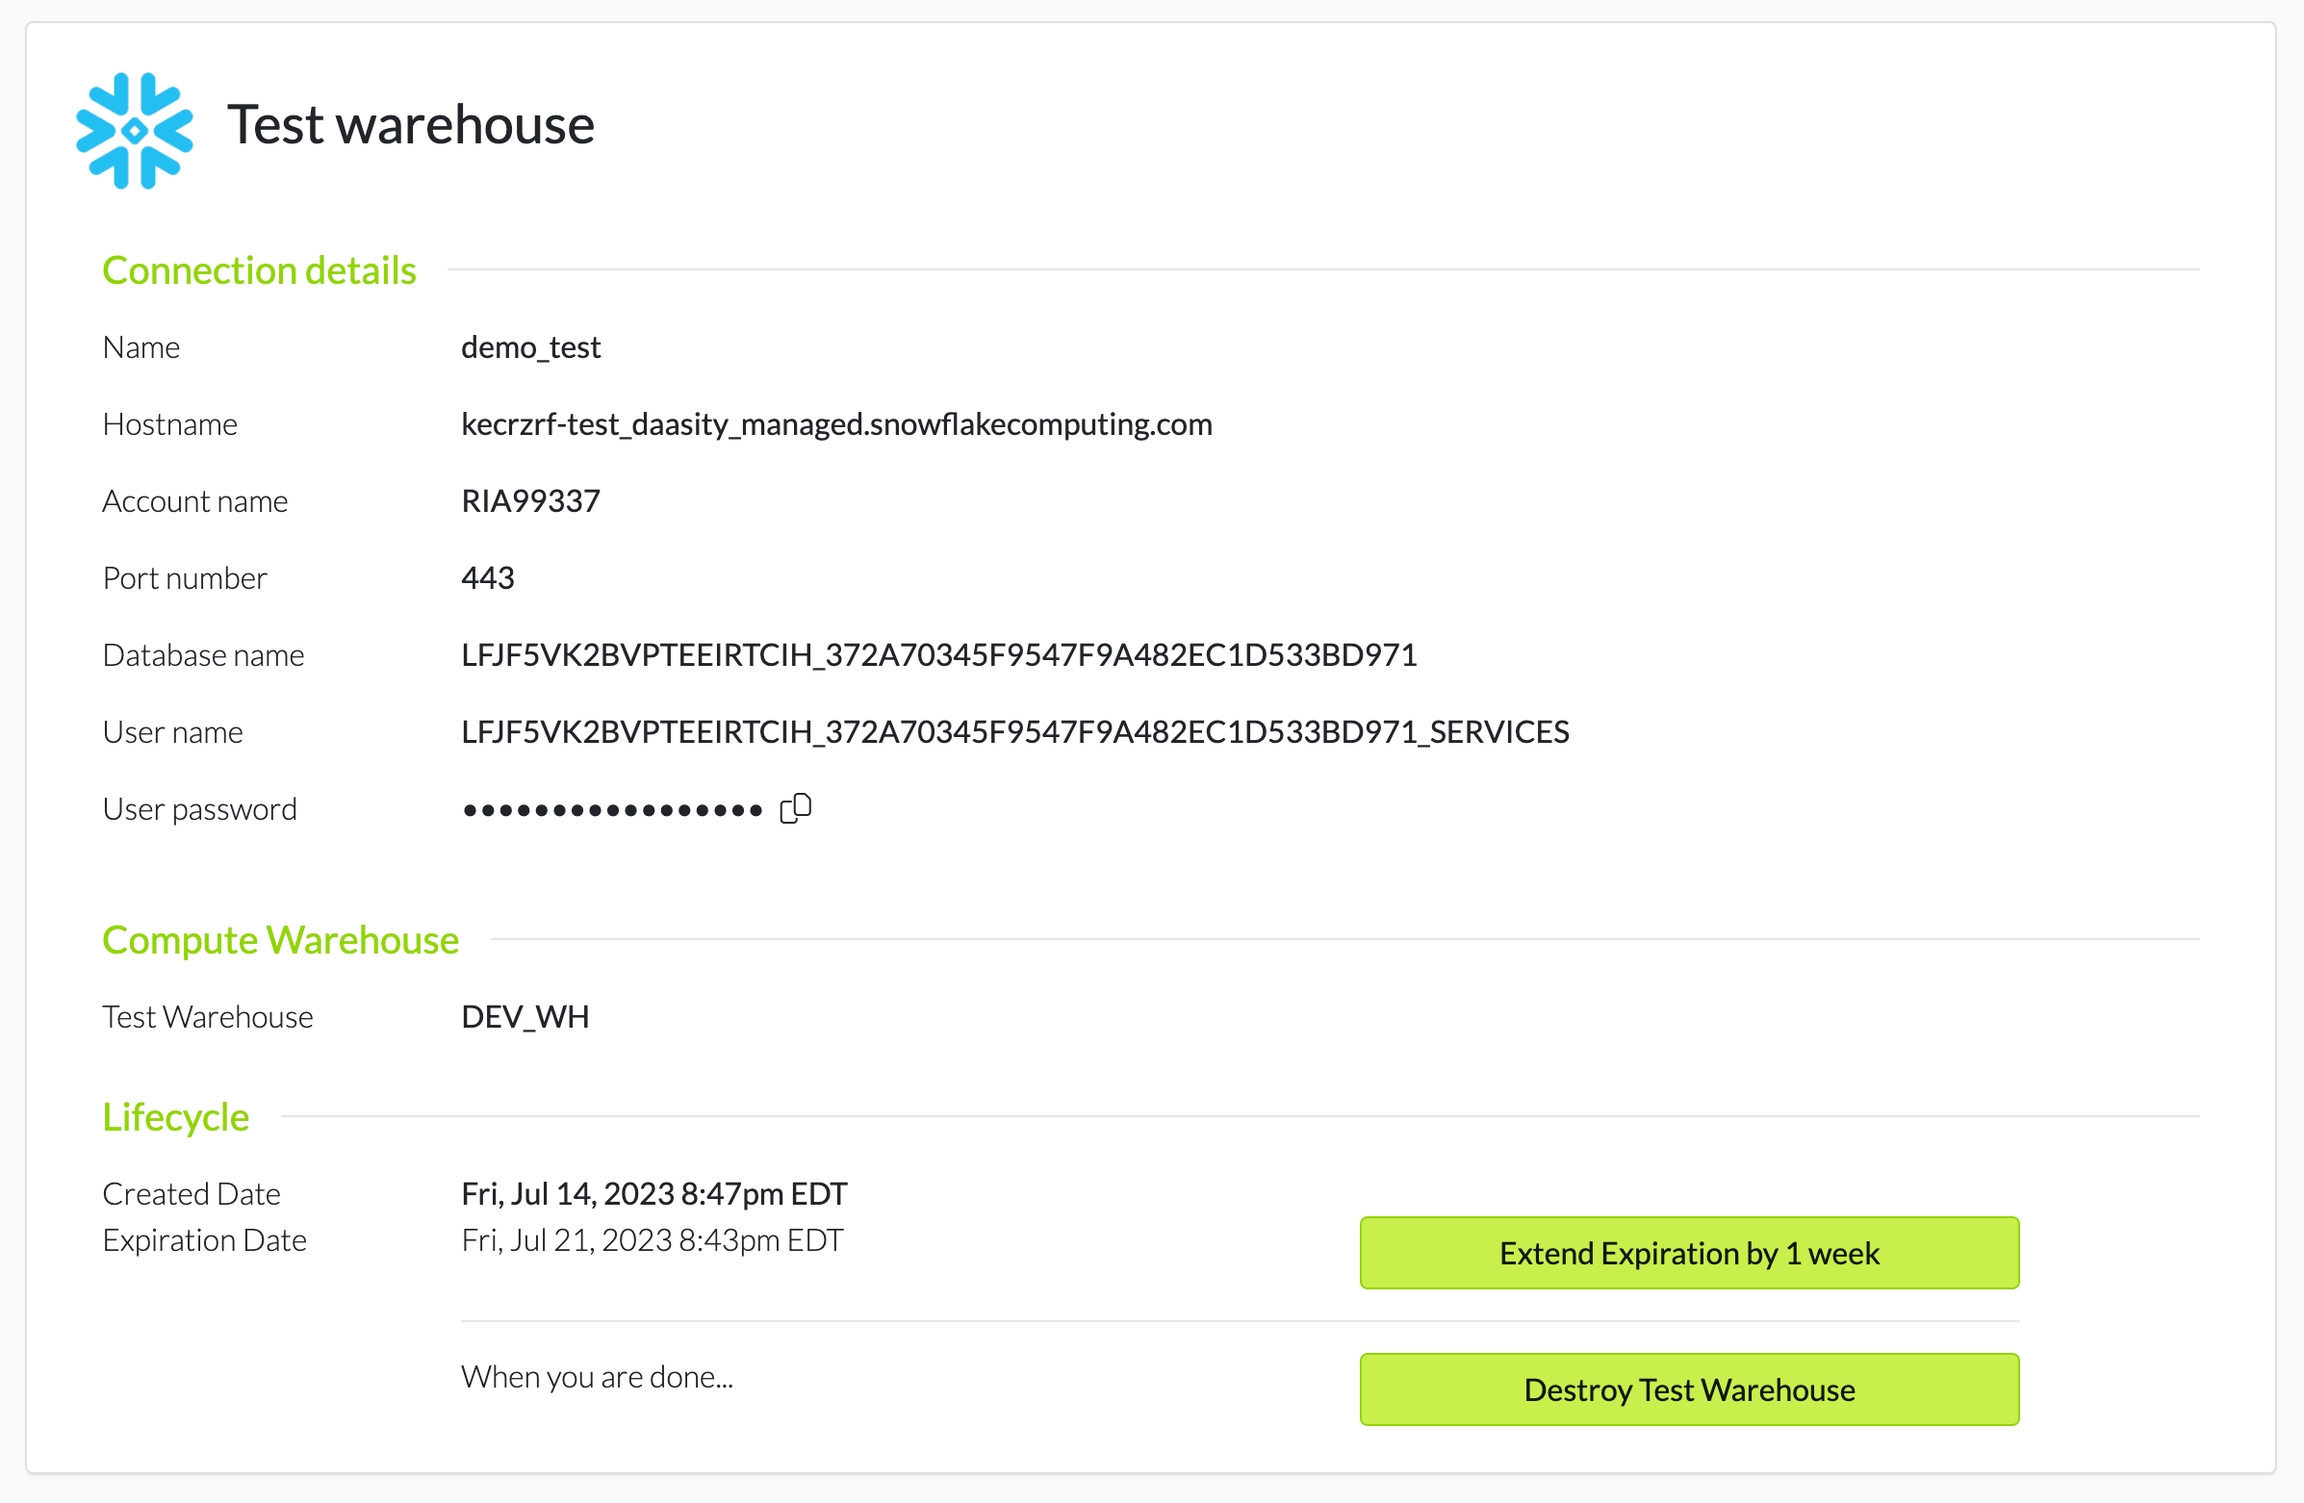
Now that your test warehouse is set up, you can use it when testing workflows.
If you need to access the test warehouse to query the data, use the connection details to connect to it directly from the snowflake console or through an IDE like DataGrip or Navicat.

Destroying your test warehouse
Once you have completed your testing you should destroy your test warehouse by clicking on the Destroy Test Warehouse button

Was this helpful?