Creating Workflows
This page provides information on how to create a workflow and select the options for integrations, transformation and schedule to build the extraction and transformation process for your data stack
Overview
Workflows are comprised of four (4) sections with the extraction and transformation sections being optional so that you can build workflows that are extraction only, transformation only or a combination of extraction and transformation. The four sections are:
Data Extraction (optional)
Data Transformation (optional)
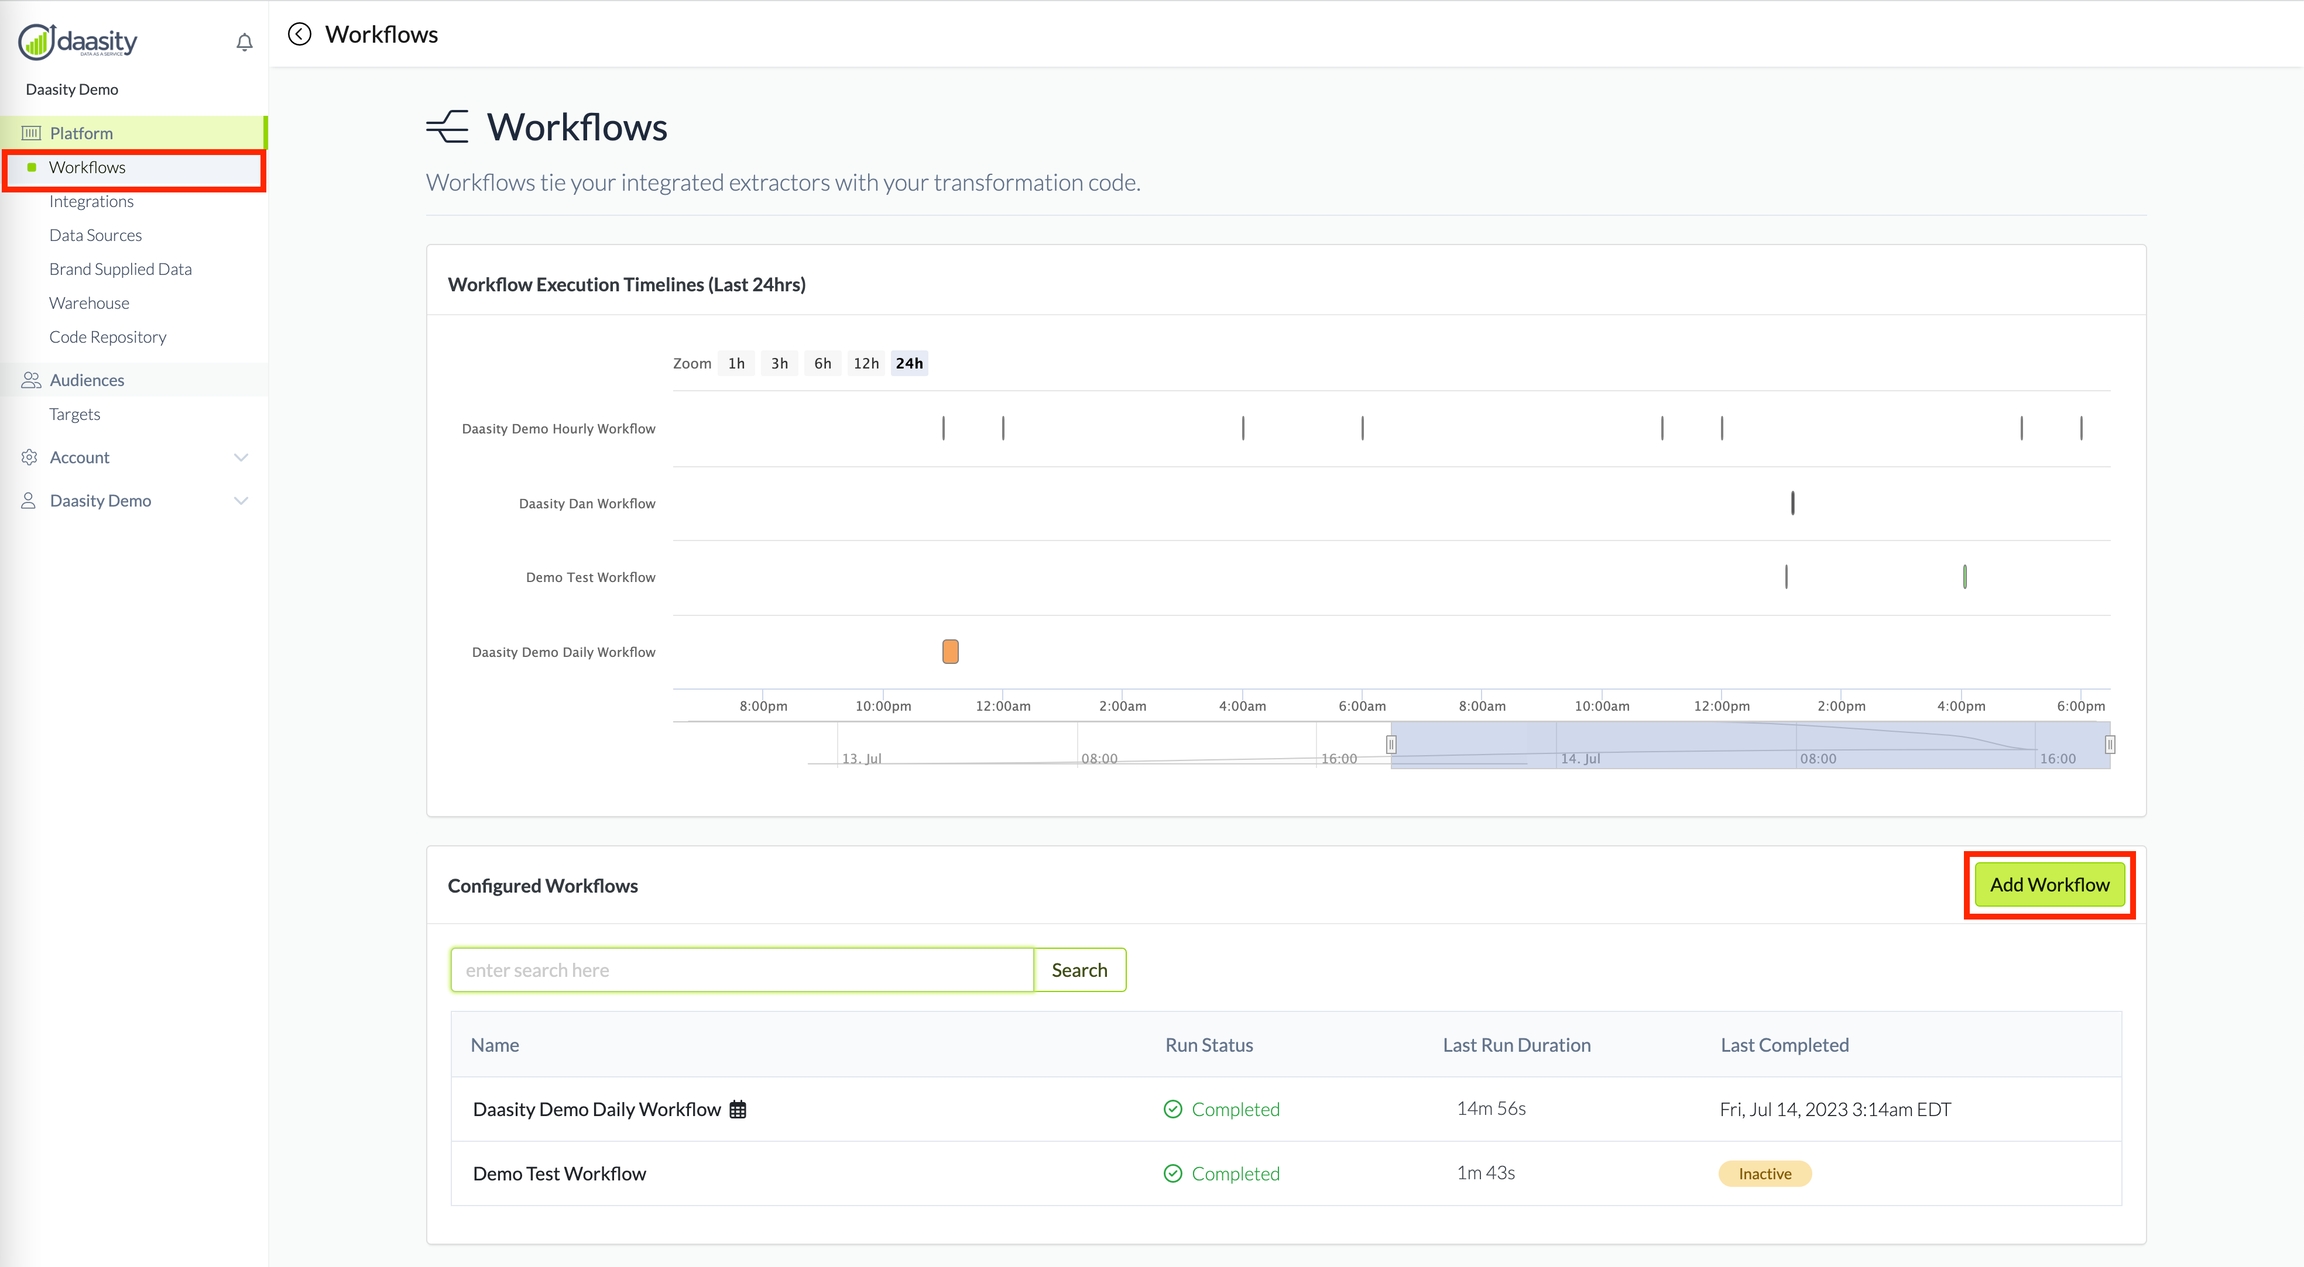
To start creating your workflow natigate to the Workflow screen and click on the Add Workflow button.

This will take you to the workflow screen where you will complete the four (4) sections
General
This is where you name the workflow and have the option to add a description, which can provide additional details on the intended purpose of the workflow.

Data Extraction
This is where you have the option to specify integrations that should extract data as part of this workflow.

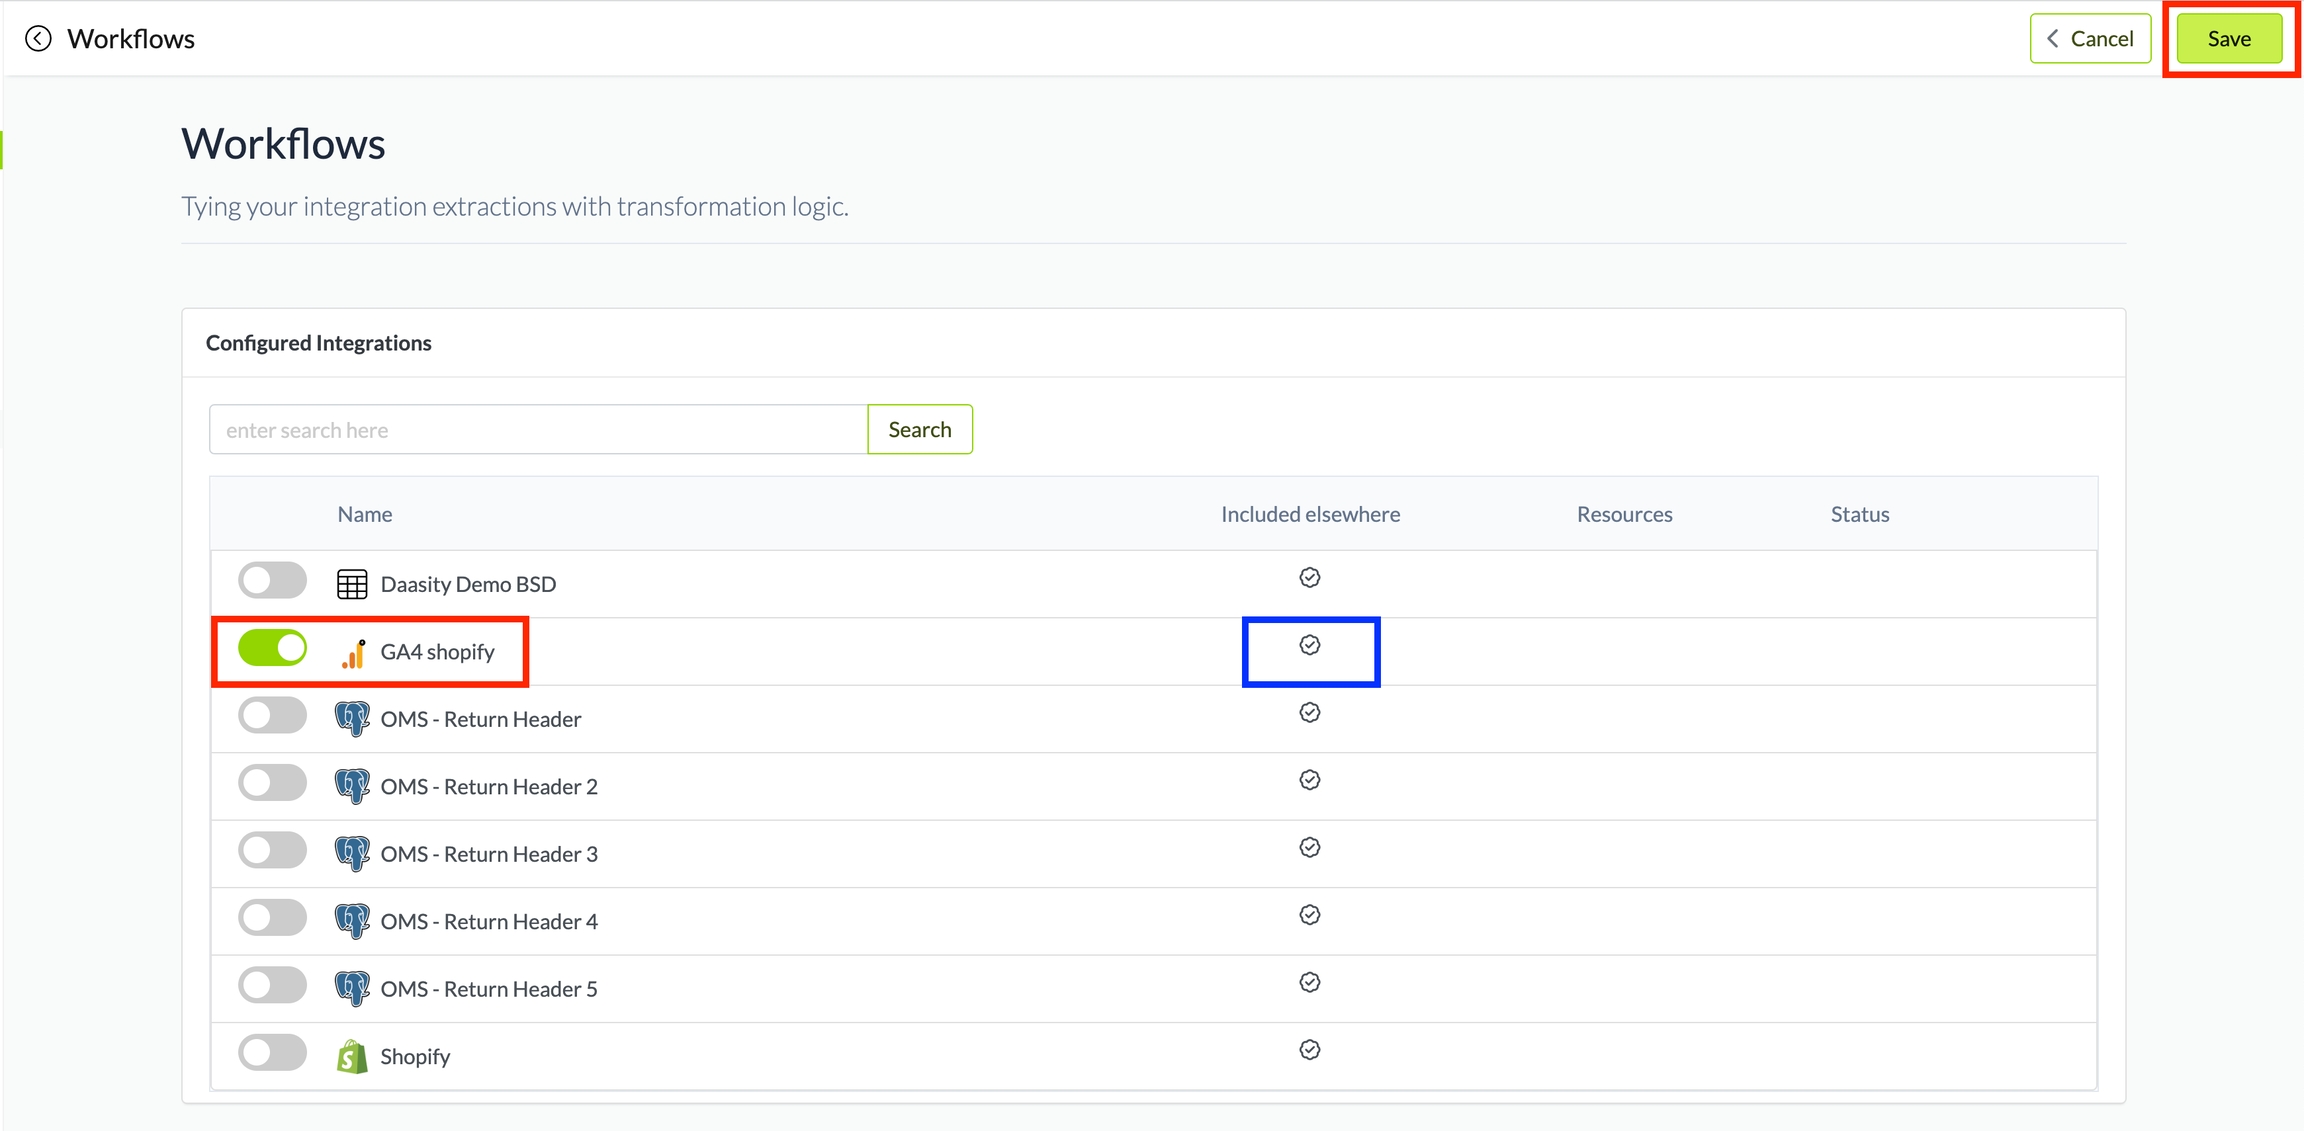
If you want to add integrations to the workflow, click the Manage button. From the next screen, you can toggle integrations on/off. Once the selections have been made, click the Save button in the upper right of your screen.

Data Transformation
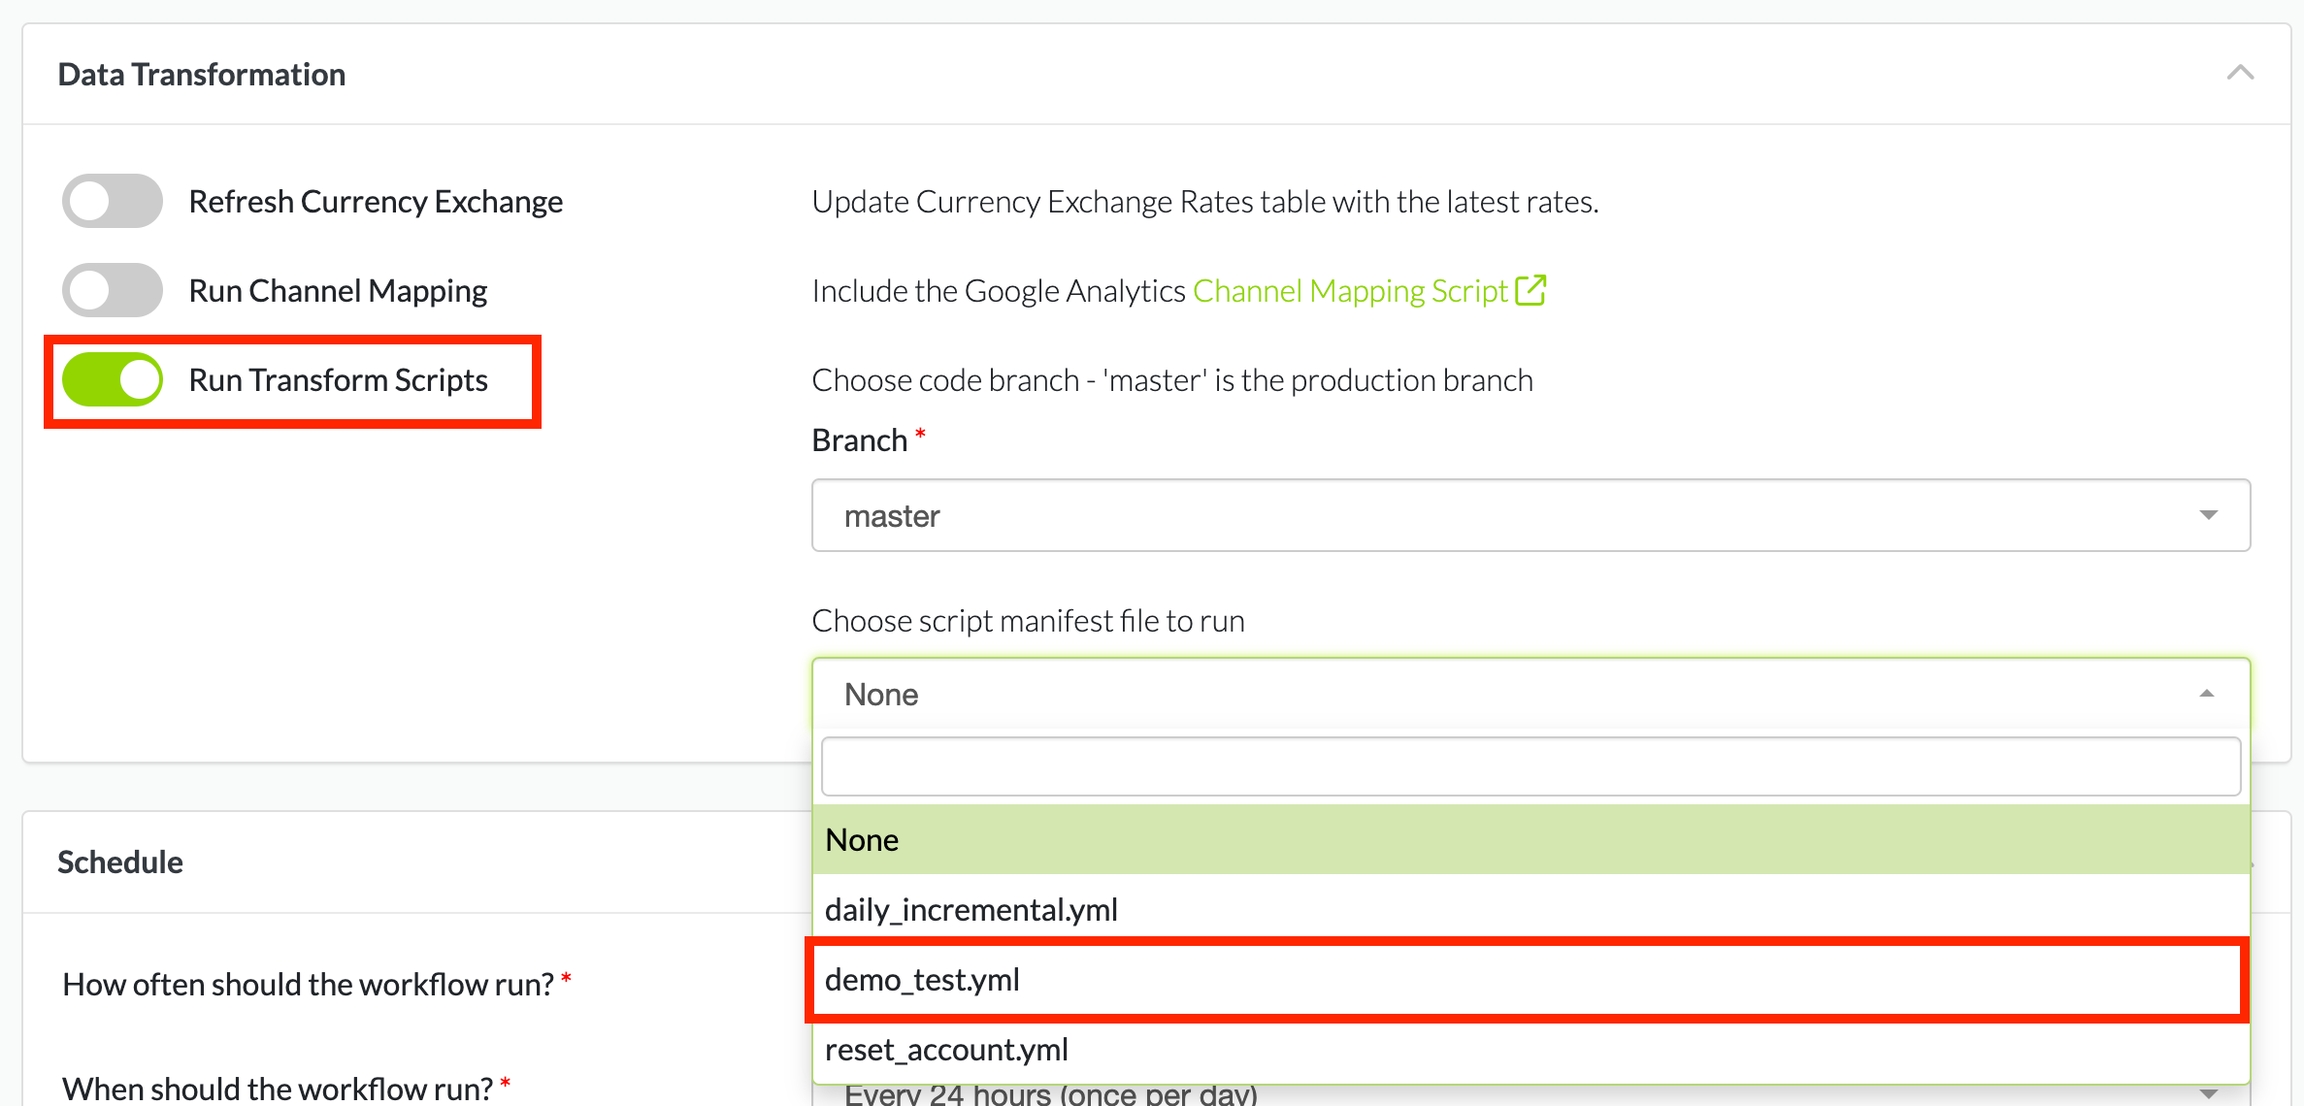
This is where you can choose to run transform scripts as part of the workflow and specify which script manifest file should be used for the transformation.
The "Choose script manifest file to run" dropdown will show all of the script manifest files currently available in your custom code repository. If the manifest file you want to run is in a branch other than "master," you can use the "Branch" dropdown to choose the proper branch.

Refresh Currency Exchange
The Refresh Currency Exchange will update the [platform.currency_exchange_rates] table that has the exchange rate for every currency to the platform currency for every day. Daasity extracts currency exchange rates from Currency Layer once per day and thus we recommend that this be turned on in the daily workflow only.
Run Channel Mapping
The Channel Mapping transformation will run SQL code that has been generated by the Daasity platform to generate the channel, vendor, sub-channel and media type values using the Channel Mapping BSD. Channel Mapping only applies to Google Analytics (both Universal Analytics and GA4) and thus we recommend that this be turned on for workflows that include a Google Analytics extractor.
Run Transform Scripts
The Run Transform Scripts allows you to select the branch in your Github repository and the script manifest file in that repository that you want the workflow to execute.
You will only be able to activate a workflow if the branch selected is "master"
Schedule
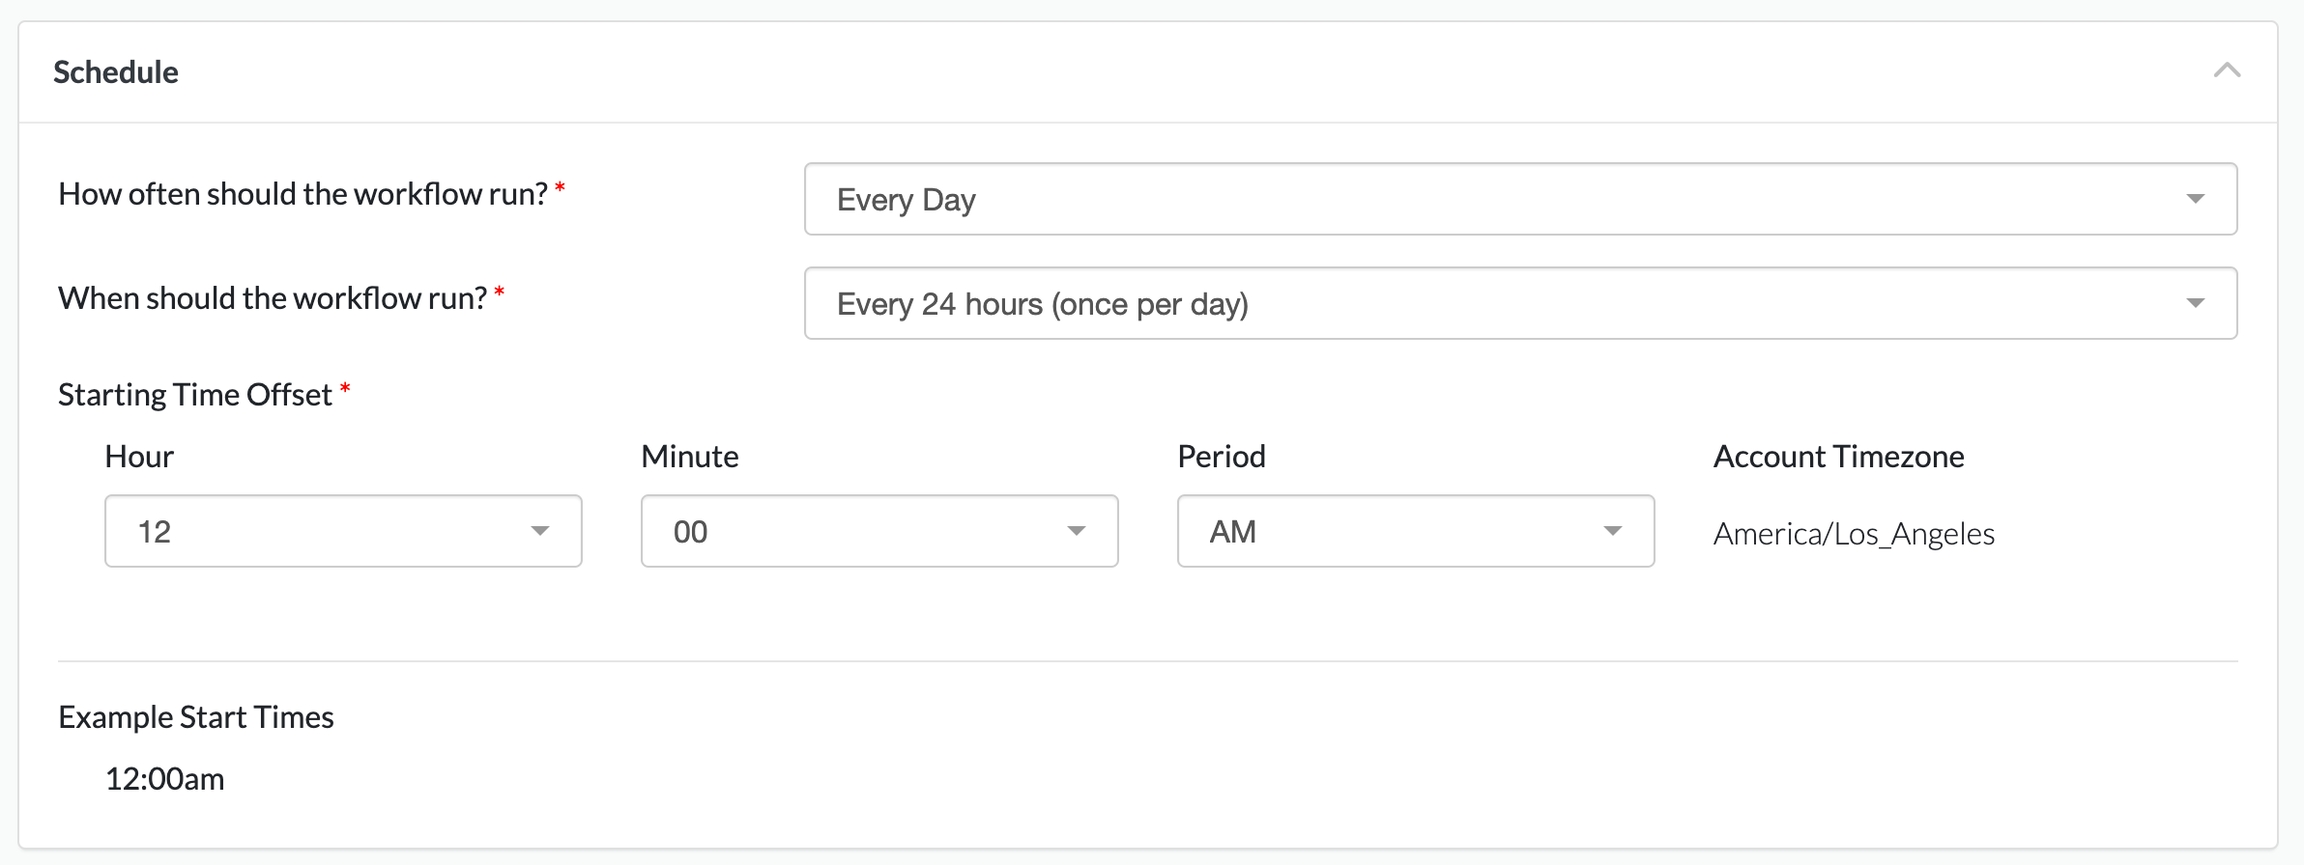
The schedule section allows you to set the frequency and offset of the workflow so that you can configure the workflow to execute when you want

How often should the workflow run?
You can set the workflow to run every day or only on specific days of the week.
When should the workflow run?
You can set the workflow to run once per day or multiple times per day
Starting time offset
Workflows by default will start their first run at midnight. You can change that in this section so that the workflow (or the first run of a intraday workflow) kicks off at a time other than midnight. If you're configuring an hourly workflow, you can choose how many minutes to offset the workflow. So if you choose 15 minutes, for example, the workflow will kick off 15 minutes after the start of each hour.

Save
Once you have completed all the sections you want to configure you will need to save the settings by clicking the Save button at the top right.
This will return you to the main Workflow screen where you can run, test, edit, or activate/deactivate your workflow.

Was this helpful?