Integration Setup

Step 1: Navigate to 'New Integration' screen
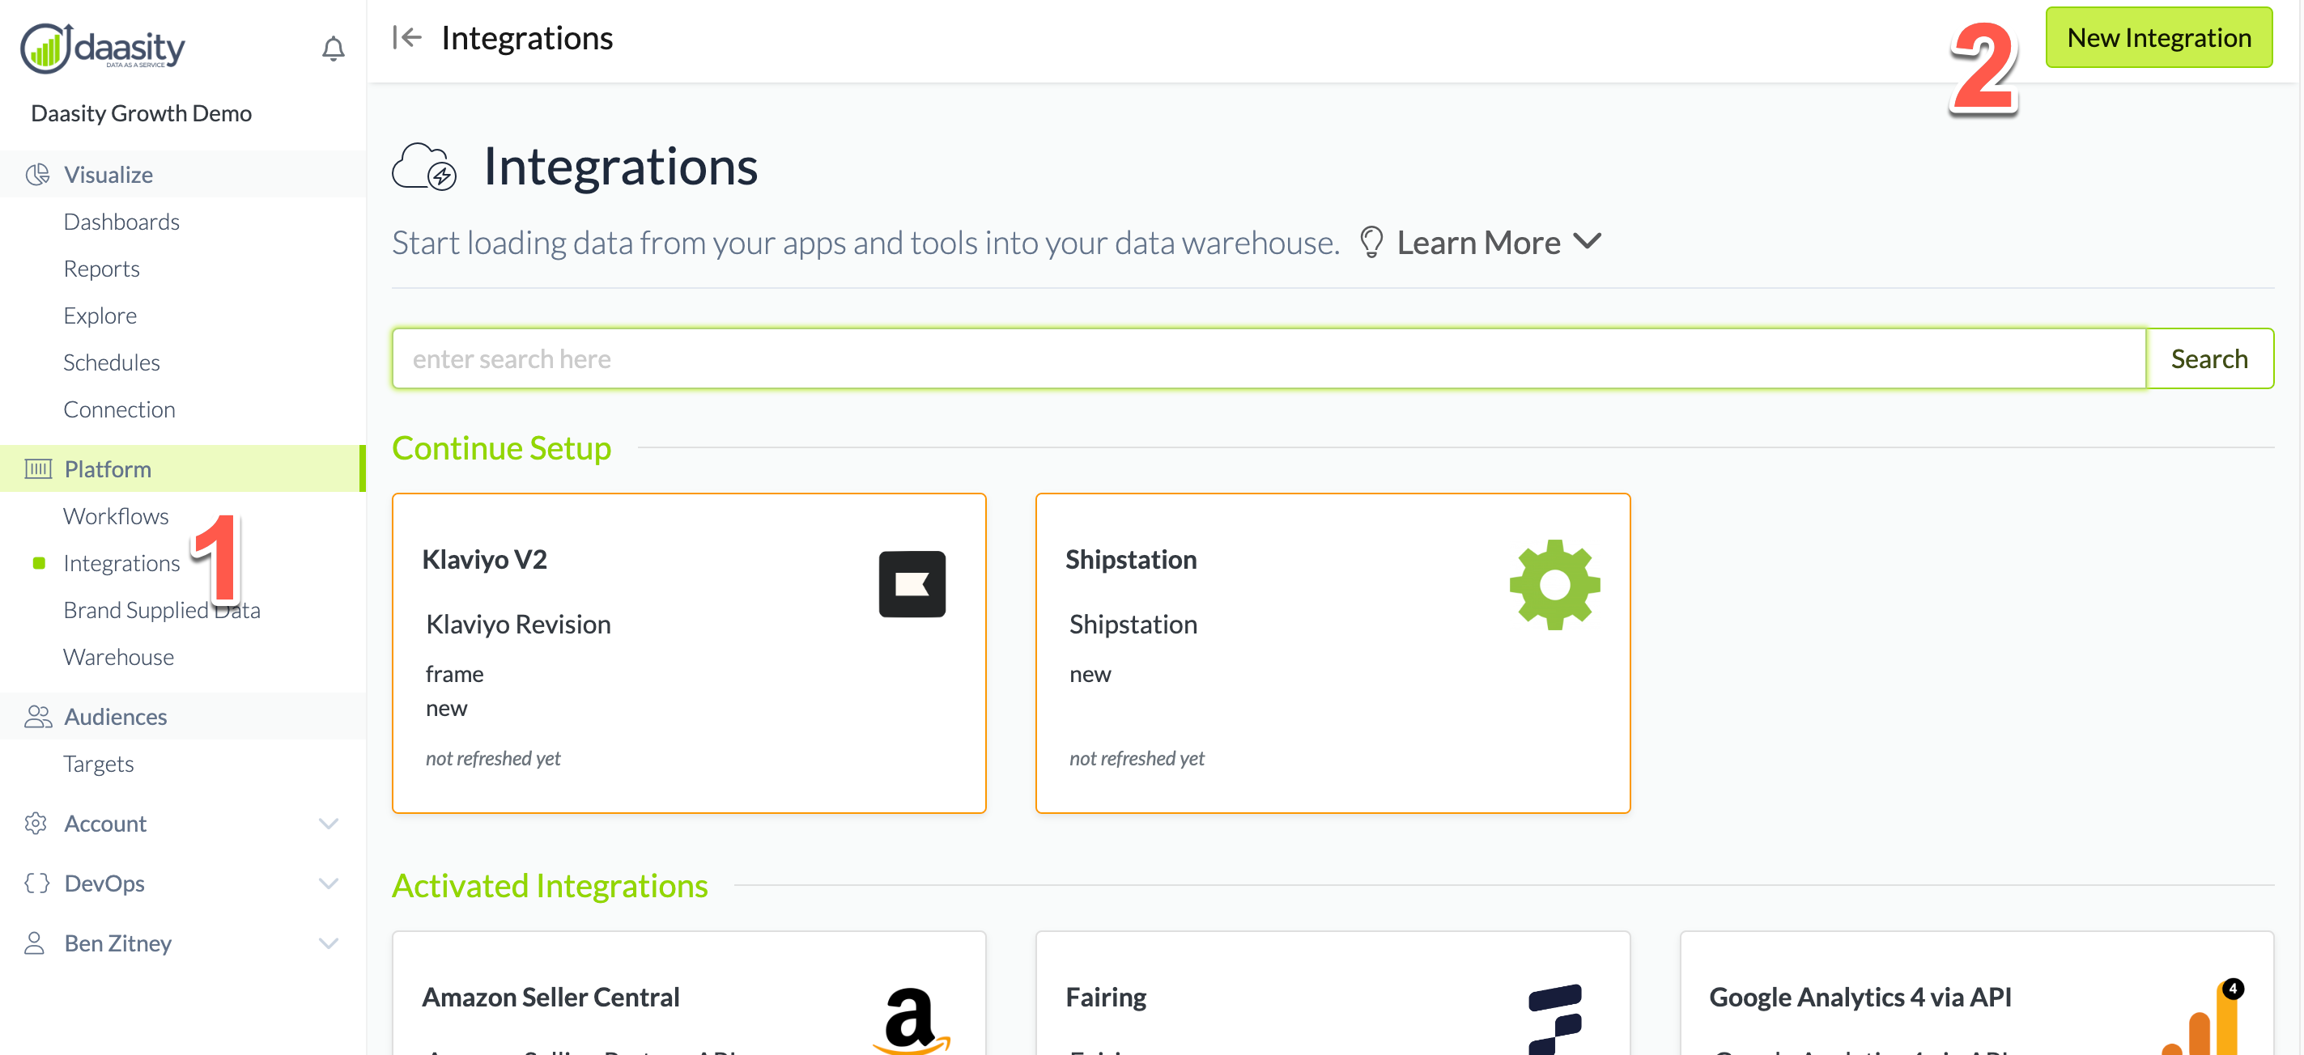
In the Daasity app, click Integrations in the left-hand menu, and then the New Integration button in the upper-right corner.

Step 2: Choose the SKIO integration

In the search box, type "skio" and choose the SKIO integration.

Step 3: Name the integration

Give the integration a name. This is the name that will be displayed in your integrations list in the Daasity app.

Step 4: Authorize the integration

To give Daasity access to your SKIO data for extraction, you'll need to create an API key in the SKIO admin and input it in the Daasity app:

Step 5: Save the integration

Step 6: Wait for dataset to be ready

Once you authorize the app, there will be a waiting period — typically a few hours — before your dataset is ready for syncing with Daasity. If it takes longer than a day for the dataset to be ready, please contact support@daasity.com.

Step 7: Load history

From the integration details screen, trigger a load of up to 5 years of history:

This will load your historical data into your database.

You will see the data reflected in your subscription dashboard and explores after the next daily workflow runs.

Last updated