> For the complete documentation index, see [llms.txt](https://help.daasity.com/llms.txt). Markdown versions of documentation pages are available by appending `.md` to page URLs; this page is available as [Markdown](https://help.daasity.com/core-concepts/data-integrations/setup-guides/digital-integrations/walmart-marketplace/integration-setup.md).
# Integration Setup
## Step 1: Navigate to 'New Integration' screen
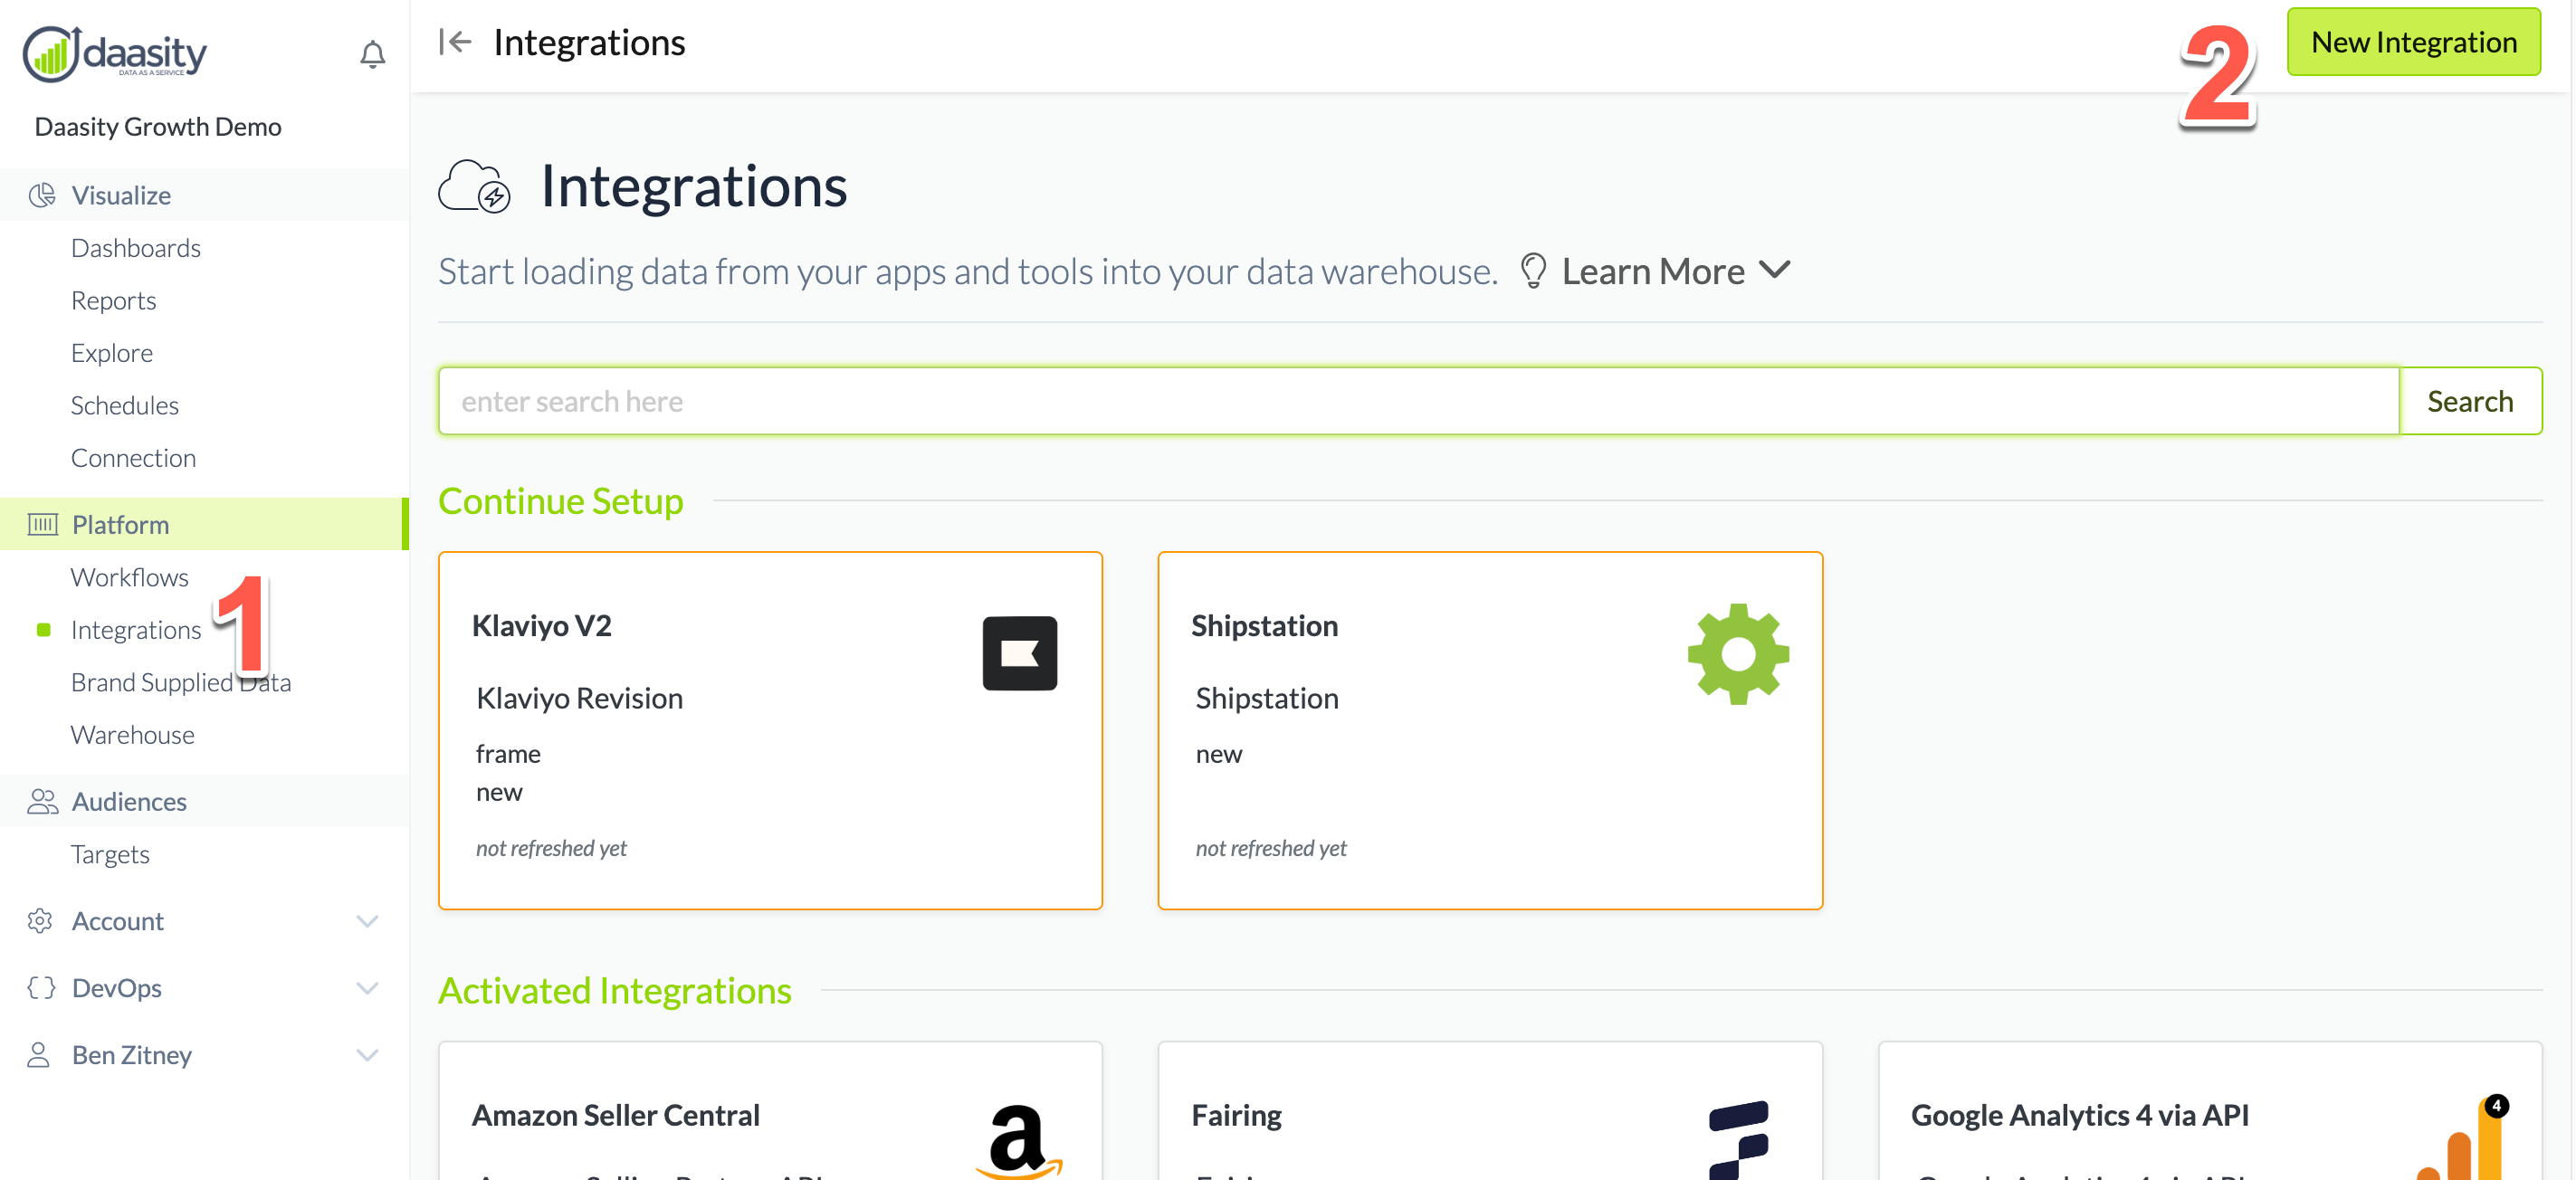
In the Daasity app, click **Integrations** in the left-hand menu, and then the **New Integration** button in the upper-right corner.
## Step 2: Choose the Walmart Marketplace integration
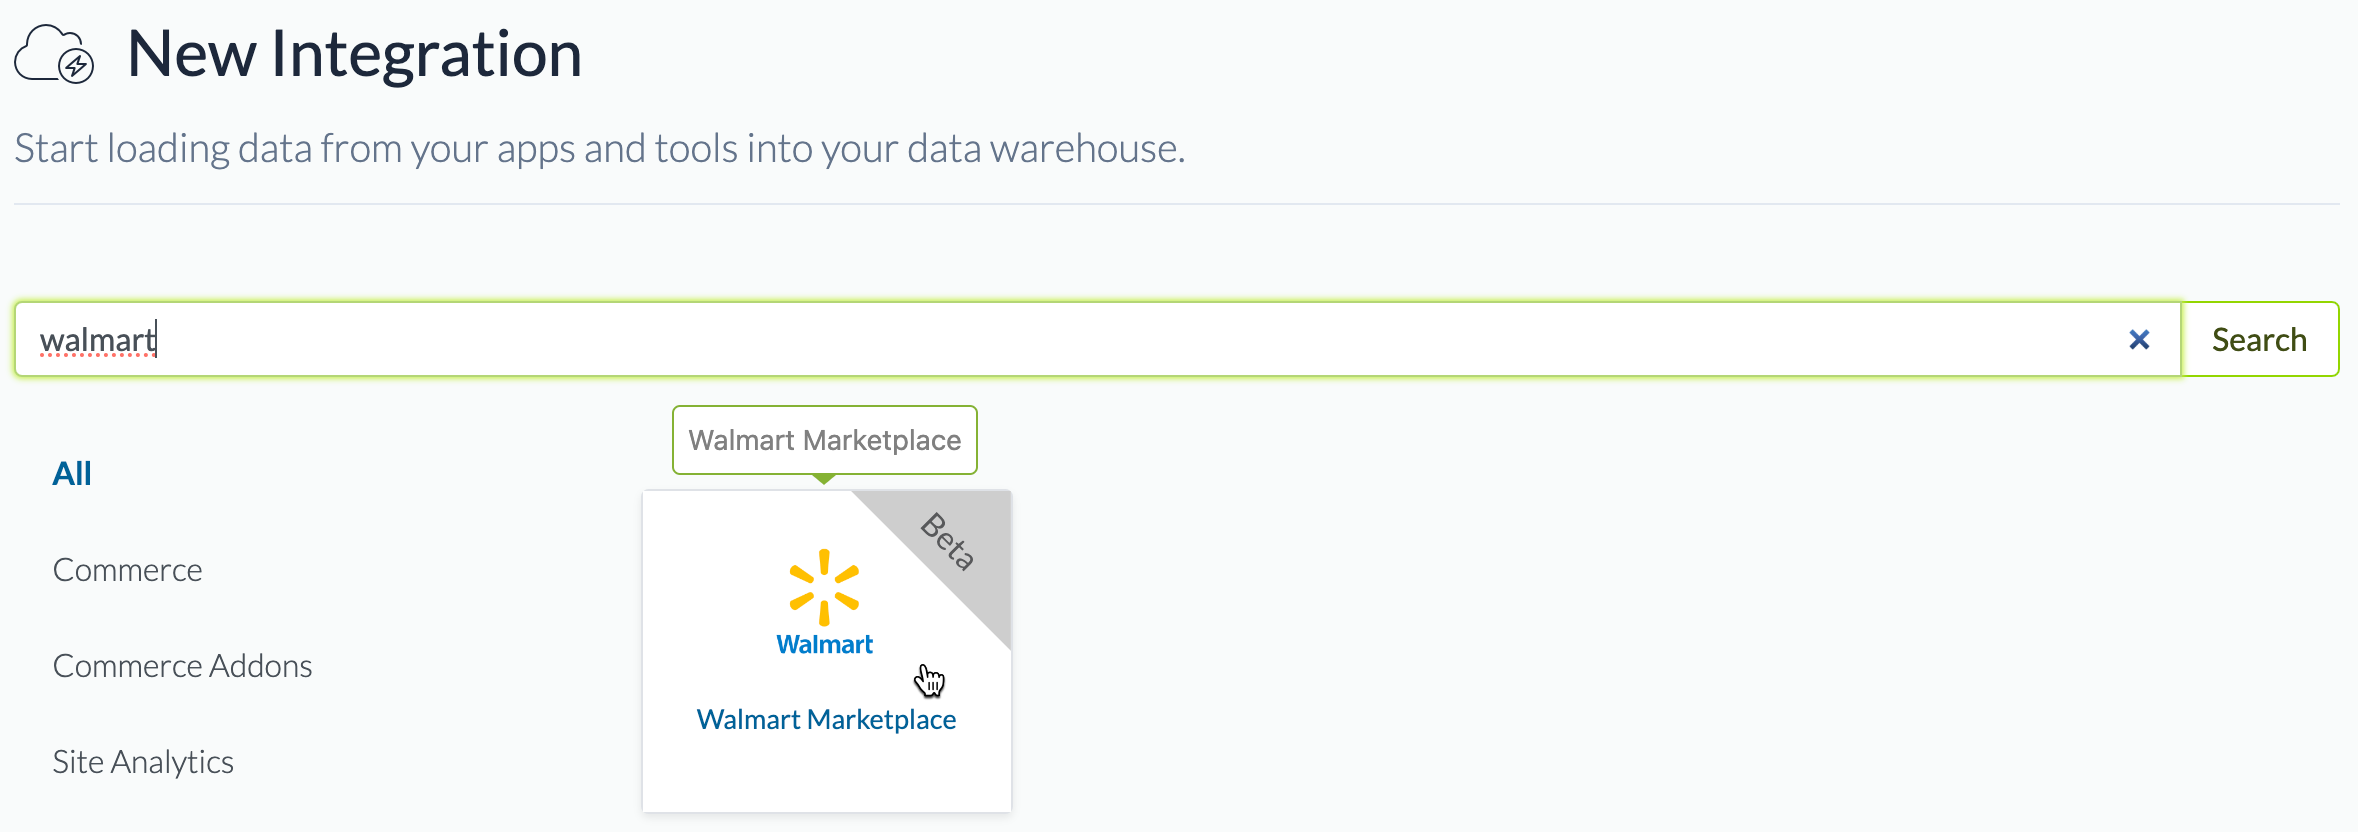
In the search box, type "walmart" and choose the Walmart Marketplace integration.
## Step 3: Name the integration
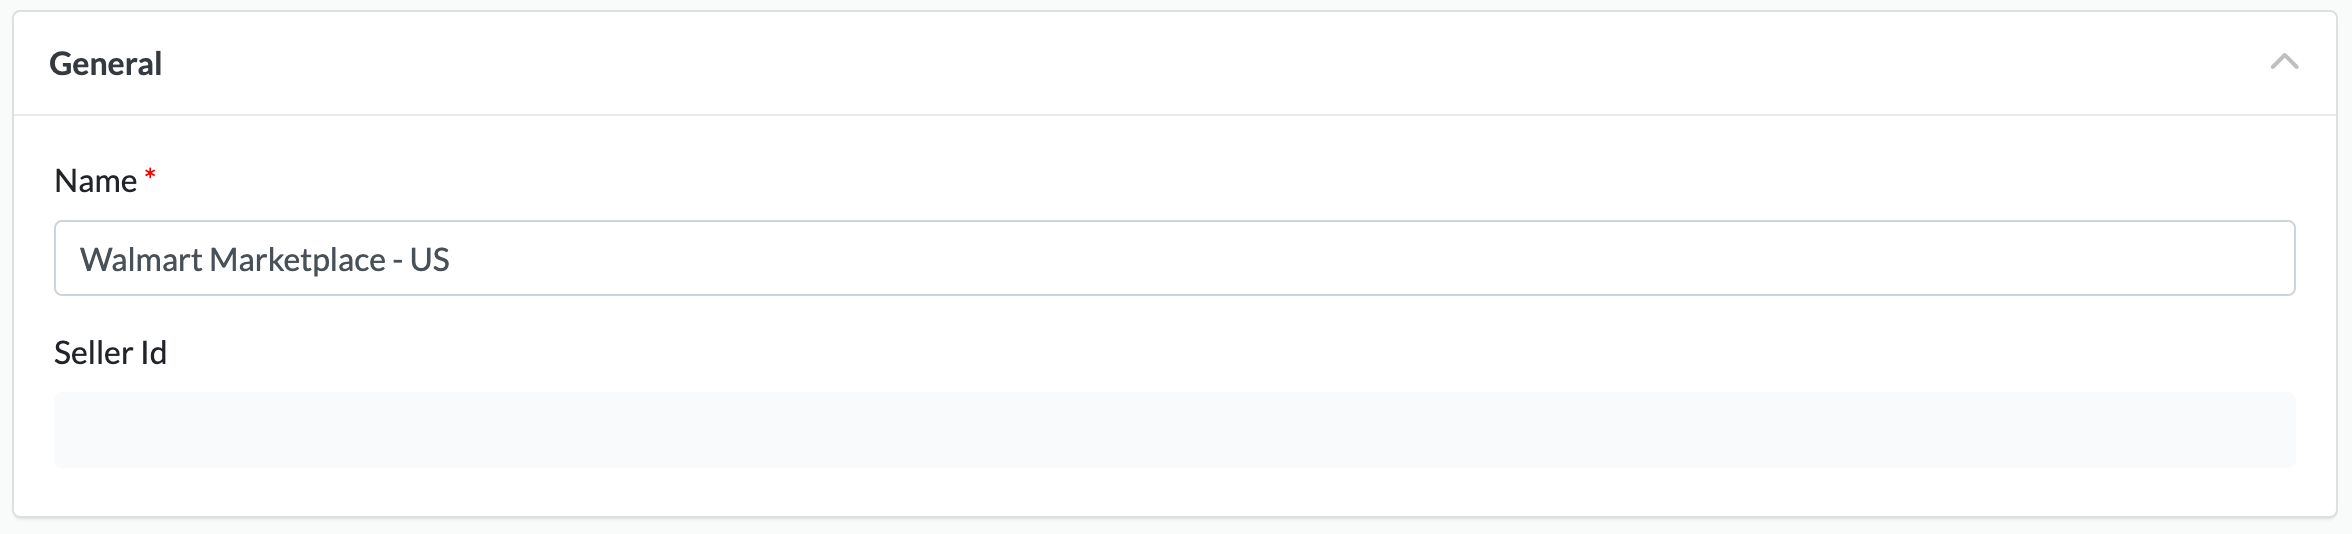
Give the integration a name. This is the name that will be displayed in your integrations list in the Daasity app.
## Step 4: Authorize the integration
Click the **Authorize** button:
You'll be redirected to the Walmart Seller Central login page. Enter the credentials you use to log in normally:
Click **Authorize** on the Walmart authorization screen:
## Step 5: Load history
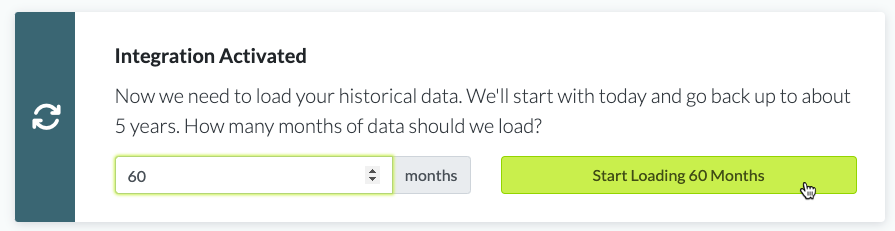
From the integration details screen, trigger a load of up to 5 years of history: