> For the complete documentation index, see [llms.txt](https://help.daasity.com/llms.txt). Markdown versions of documentation pages are available by appending `.md` to page URLs; this page is available as [Markdown](https://help.daasity.com/core-concepts/data-integrations/setup-guides/digital-integrations/tiktok-gmv-max-ads/integration-setup.md).

# Integration Setup

{% hint style="warning" %}
**Before you begin:** TikTok Ads must be enabled for your account by Daasity before you can connect it. "TikTok" (otherwise referred to as TikTok GMV Max or TikTok Ads) and TikTok Shop are enabled separately, so having one active does not enable the other. If you don't see TikTok under **New Integration**, contact your Account Manager or Daasity Support to have it enabled.
{% endhint %}

{% hint style="warning" %}
**You will need Owner Access of your TikTok Account to Connect to Daasity**
{% endhint %}

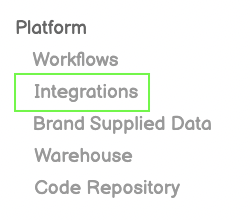
## Step 1: Integrations

<figure><img src="/files/7rGll8vPkGzbulDrBvGb" alt=""><figcaption><p>Click Integrations from Left-Side Menu Bar</p></figcaption></figure>

## Step 2: New Integration

<figure><img src="/files/dMGJycWWrceRnB32uxLZ" alt=""><figcaption><p>Click the New Integration Button on top-right of screen</p></figcaption></figure>

## Step 3: TikTok Icon

<figure><img src="/files/N0AzBTi7iFWdoKwJ6cRh" alt=""><figcaption><p>Click the TikTok icon from the Integration Page</p></figcaption></figure>

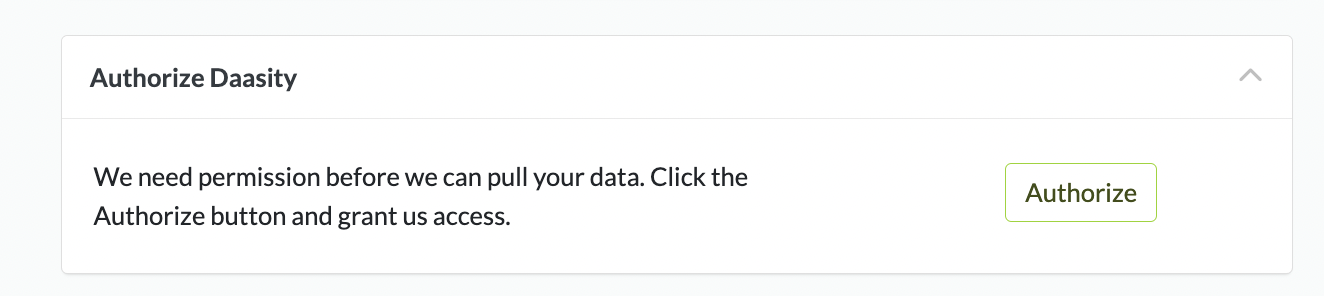
## Step 4: Authorize Daasity

<figure><img src="/files/F4KxBknIQCpPfQ7H5W5c" alt=""><figcaption><p>Authorize Daasity to Connect to API </p></figcaption></figure>

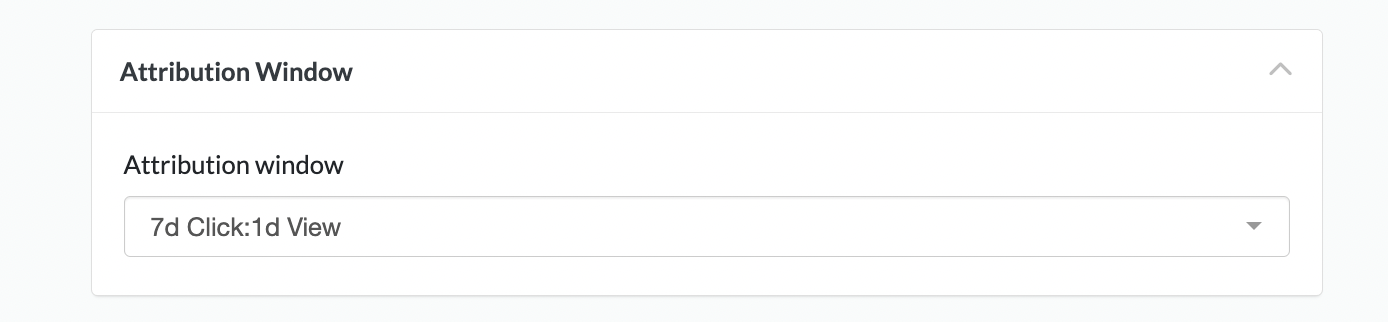
## Step 5: Confirm Your Attribution Windows

<figure><img src="/files/dWRjXQJ9CMwYdqutA7K6" alt=""><figcaption><p>Choose Your Preferred Attribution Settings</p></figcaption></figure>

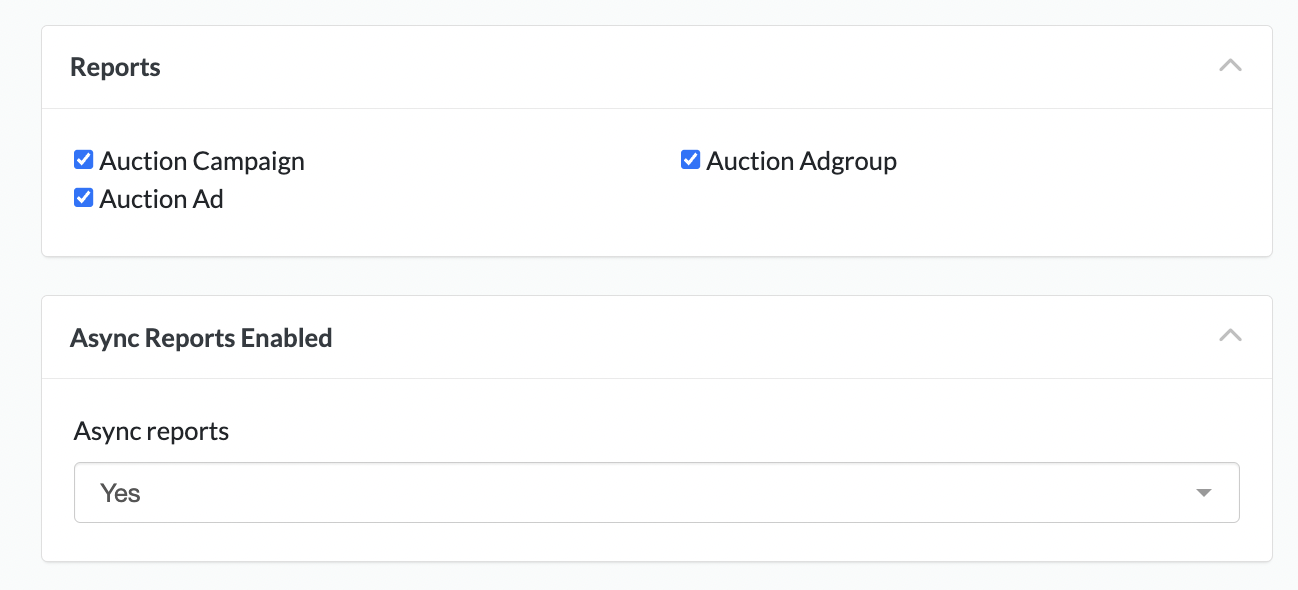
## Step 6: Confirm Default Report Settings

<figure><img src="/files/aWfx7PtP4a37LPjzWxW4" alt=""><figcaption><p>If you are unsure Keep Default Settings for All</p></figcaption></figure>

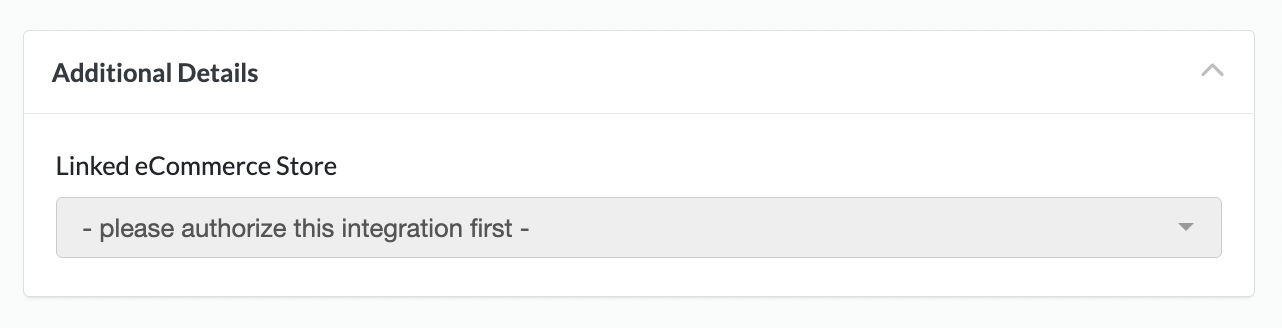
## Step 7: Link to Ecommerce Store

<figure><img src="/files/Y4OXITof14lNXb2toqL0" alt=""><figcaption></figcaption></figure>

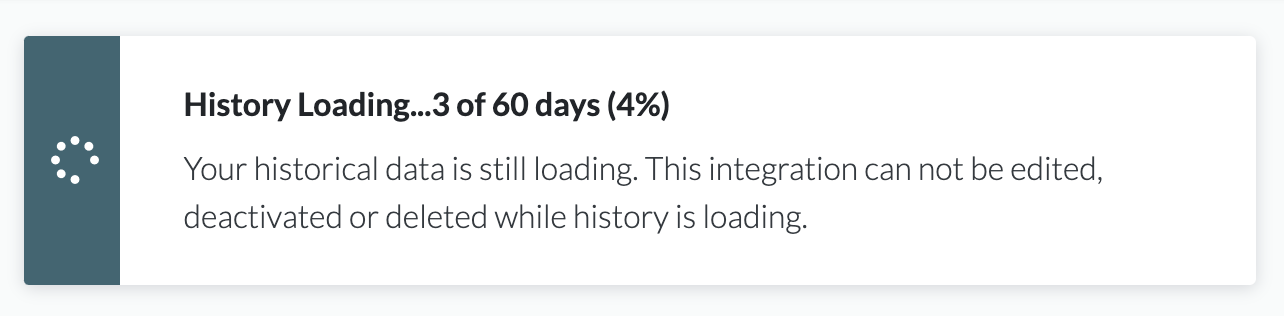
## Step 8: Load Historical Data

<figure><img src="/files/YHkWzsdqFv4zvWW6xiKf" alt=""><figcaption><p>Historical Data Loading</p></figcaption></figure>