> For the complete documentation index, see [llms.txt](https://help.daasity.com/llms.txt). Markdown versions of documentation pages are available by appending `.md` to page URLs; this page is available as [Markdown](https://help.daasity.com/core-concepts/data-integrations/setup-guides/digital-integrations/shopify/integration-setup.md).

# Integration Setup

{% hint style="warning" %}
**You will need Owner Access of your Shopify Store Account to Connect to Daasity**
{% endhint %}

Steps for Connecting Shopify and Shopify Plus

## Step 1: Integrations

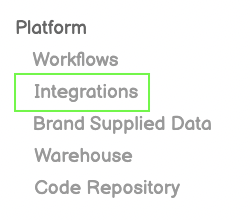
<figure><img src="/files/7rGll8vPkGzbulDrBvGb" alt=""><figcaption><p>Click Integrations from Left-Side Menu Bar</p></figcaption></figure>

## Step 2: New Integration

<figure><img src="/files/dMGJycWWrceRnB32uxLZ" alt=""><figcaption><p>Click the New Integration Button on top-right of screen</p></figcaption></figure>

## Step 3: Choose which Version of Shopify You are Using

<figure><img src="/files/LaF4rgpLYG84c1IydsKF" alt=""><figcaption><p>Click the Shopify or Shopify Plus icon</p></figcaption></figure>

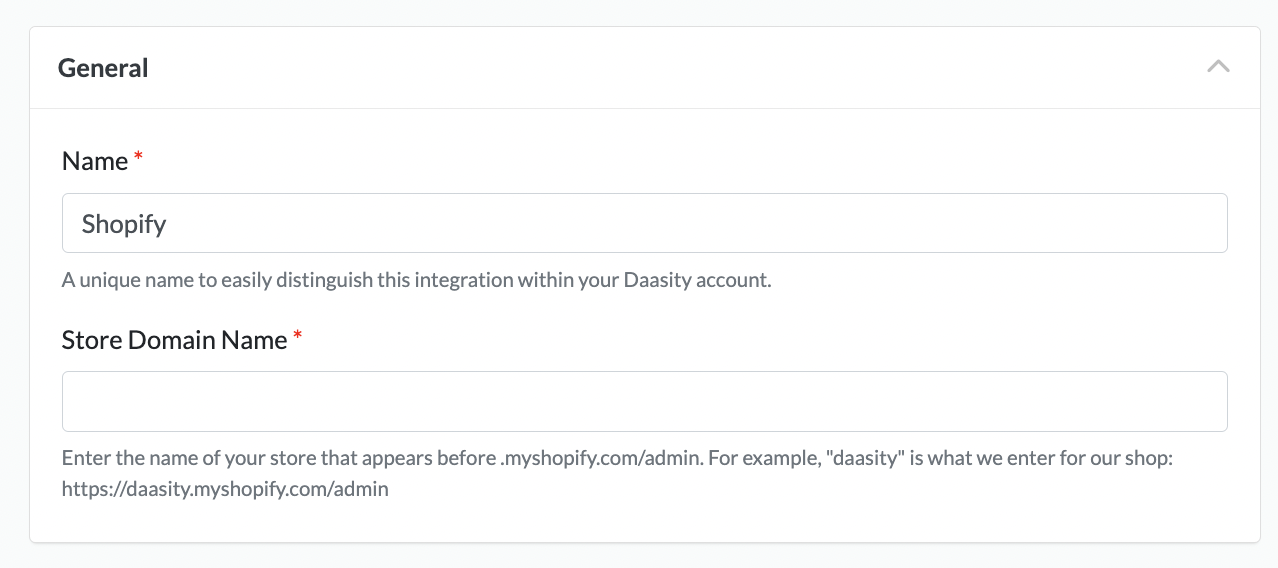
## Step 4: Enter Your Store Domain Name

<figure><img src="/files/f5pESASvFXHLgkngRyc0" alt=""><figcaption><p>Enter the Name of Your Store</p></figcaption></figure>

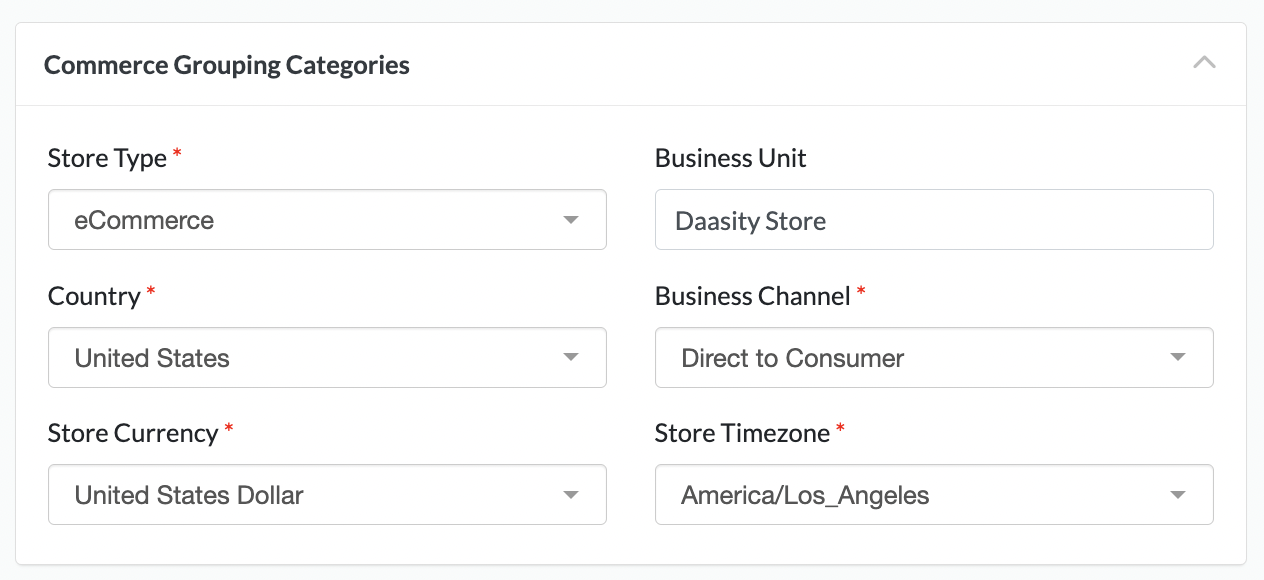
## Step 5: Confirm Store Settings

<figure><img src="/files/tXwAt2QJKdHwwpwTUFy4" alt=""><figcaption><p>Check the Default Settings are Accurate</p></figcaption></figure>

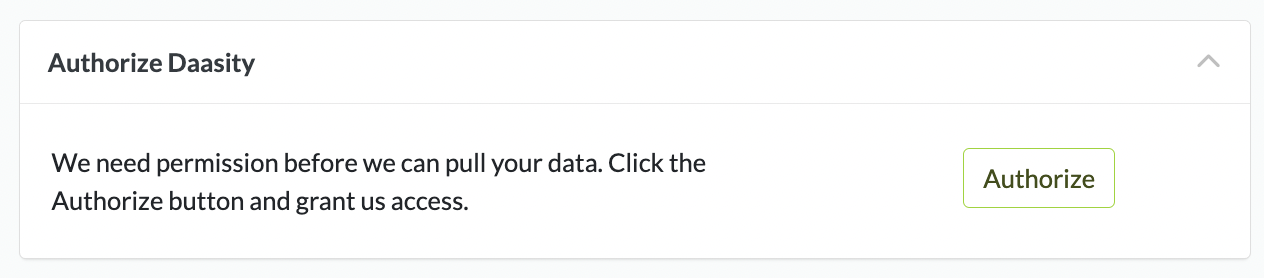
## Step 6: Authorize Daasity

<figure><img src="/files/6M8oqElfFgGuxblKIgHU" alt=""><figcaption><p>Authorize Daasity to Connect to Your Shopify Store</p></figcaption></figure>

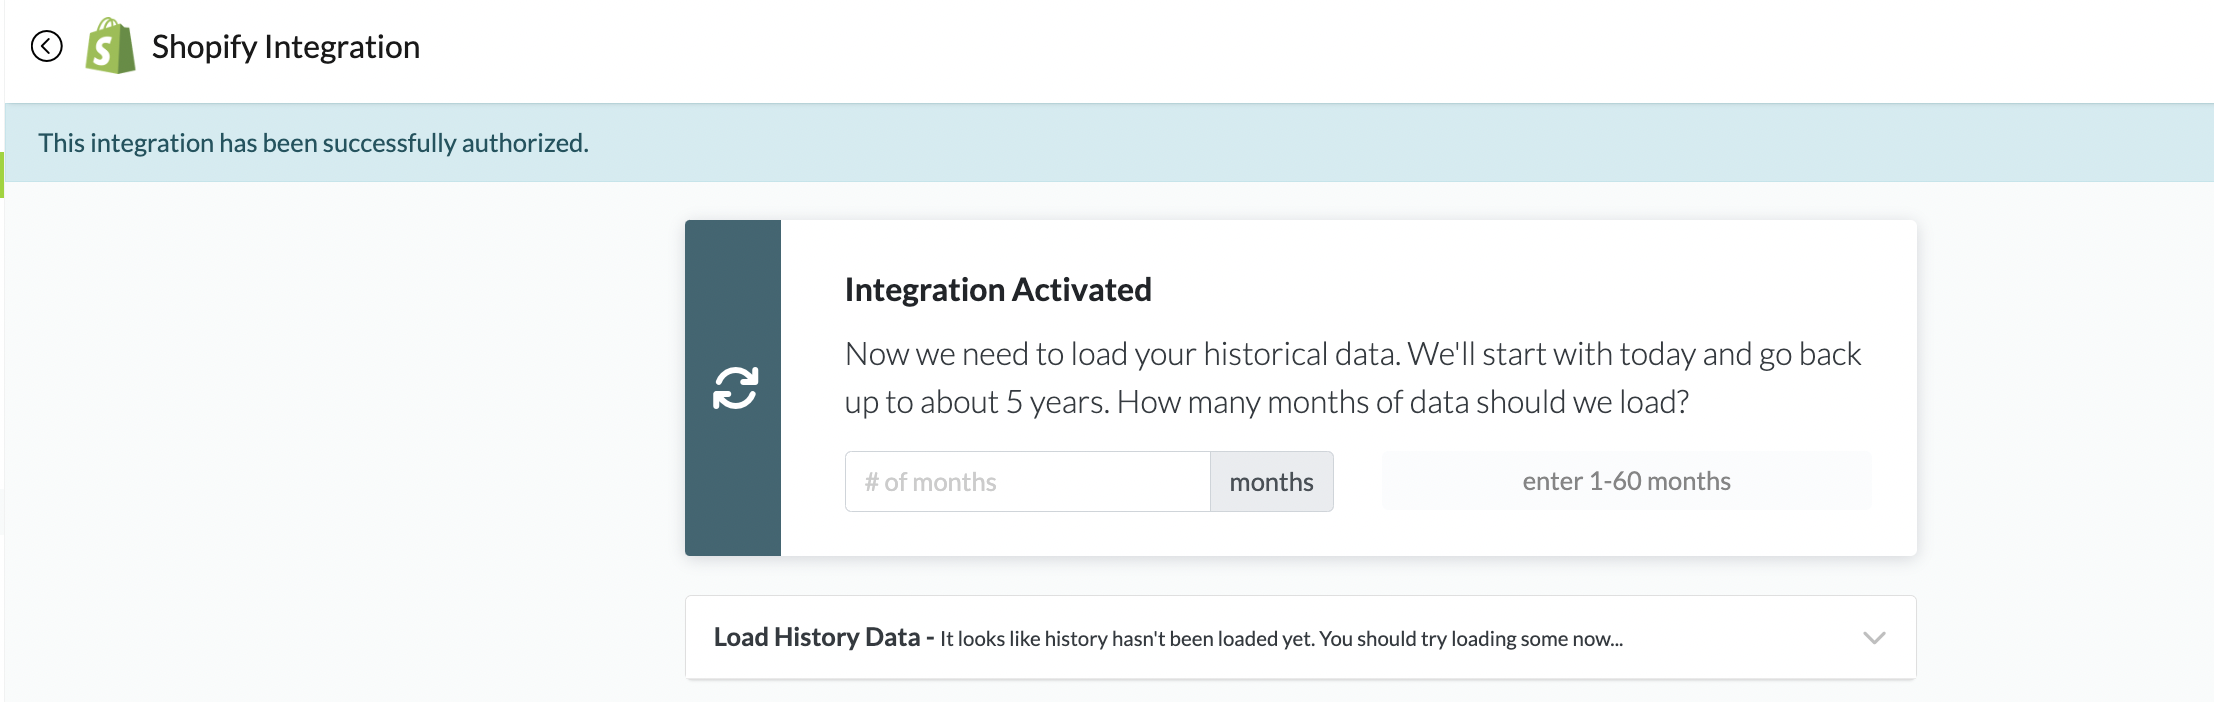
## Step 7: Load Historical Data

<figure><img src="/files/1UkErBEHjBfIOa0kSm0S" alt=""><figcaption><p>Enter the Number of Months of Historical Data</p></figcaption></figure>

## Grant Daasity Access To Your Shopify Store

In order for Daasity to quality check your data in Daasity versus your data in Shopify we request access to certain fields in your Shopify store.&#x20;

### Where to find Shopify's collaborator request (access) code

To find the 4-digit access code, please follow the steps below:

1. Navigate to your Shopify store admin > *Settings* > *Users and permissions*
2. Scroll down to the section *Collaborators*, and there's your code
3. Copy the code using the icon and share it with the desired person

<figure><img src="https://assets-global.website-files.com/601411ff11c3efbd2603b7c9/658f89a0dc2450d9faa6a0ae_shopify-collaborattor-request-code-settings-enabled.jpg" alt="Finding the collaborator request code in store admin"><figcaption></figcaption></figure>

The code itself can't be changed manually to a custom number and has always four digits. If you would like to have a new one click on the link "Generate new code". Once the new code is generated, all the previous ones become invalid.

Don't worry, sharing the code doesn't automatically give access. It only allows someone to **send you the request**, which you still need to approve.

### How to enable or disable Shopify's collaborator request (access) code

If you, for some reason, want to enable or disable the collaborator request code, please follow the steps below:

1. Navigate to your Shopify store admin > *Settings* > *Users and permissions*
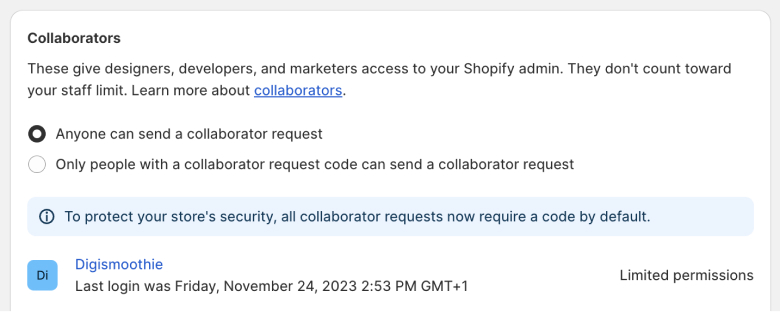
2. Scroll down to the section Collaborators and choose between "Anyone can send a collaborator request" and "Only people with a collaborator request code can send a collaborator request"

<figure><img src="https://assets-global.website-files.com/601411ff11c3efbd2603b7c9/658f8820560869e694ddae9e_shopify-collaborattor-request-code-settings.jpg" alt="Disabling the collaborator request code"><figcaption></figcaption></figure>

Shopify recommends **enabling this option** as it provides more security to your store. You can also refresh the code from time to time by clicking on the "Generate new code" link, which makes the previous codes invalid.

<br>