> For the complete documentation index, see [llms.txt](https://help.daasity.com/llms.txt). Markdown versions of documentation pages are available by appending `.md` to page URLs; this page is available as [Markdown](https://help.daasity.com/core-concepts/data-integrations/setup-guides/digital-integrations/shipstation/integration-setup.md).

# Integration Setup

To Connect Shipstation to Daasity Please follow the steps below.

{% hint style="warning" %}
**You will need Owner Access of your Shipstation Account to Connect to Daasity**
{% endhint %}

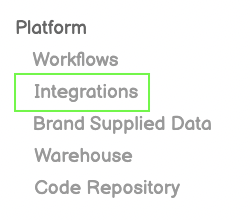
## Step 1: Integrations

<figure><img src="https://content.gitbook.com/content/amTMWiPne1v1V3L7mbuj/blobs/RJMFtyjlWOH401bQ43eO/left%20menu.png" alt=""><figcaption><p>Click Integrations from Left-Side Menu Bar</p></figcaption></figure>

## Step 2: New Integration

<figure><img src="https://content.gitbook.com/content/amTMWiPne1v1V3L7mbuj/blobs/eaIwp8gzPXf3Msc4Va0j/green%20button.png" alt=""><figcaption><p>Click the New Integration Button on top-right of screen</p></figcaption></figure>

## Step 3: Shipstation Icon

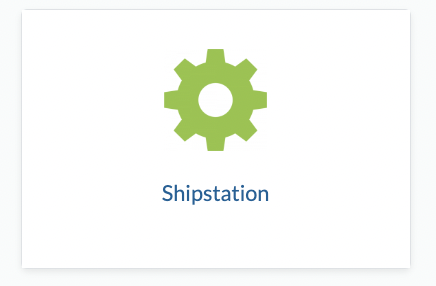
<figure><img src="https://content.gitbook.com/content/amTMWiPne1v1V3L7mbuj/blobs/lOJTEg9Oqdxm2c74mZT0/shipstqtion%20icon.png" alt=""><figcaption><p>Click the TikTok icon from the Integration Page</p></figcaption></figure>

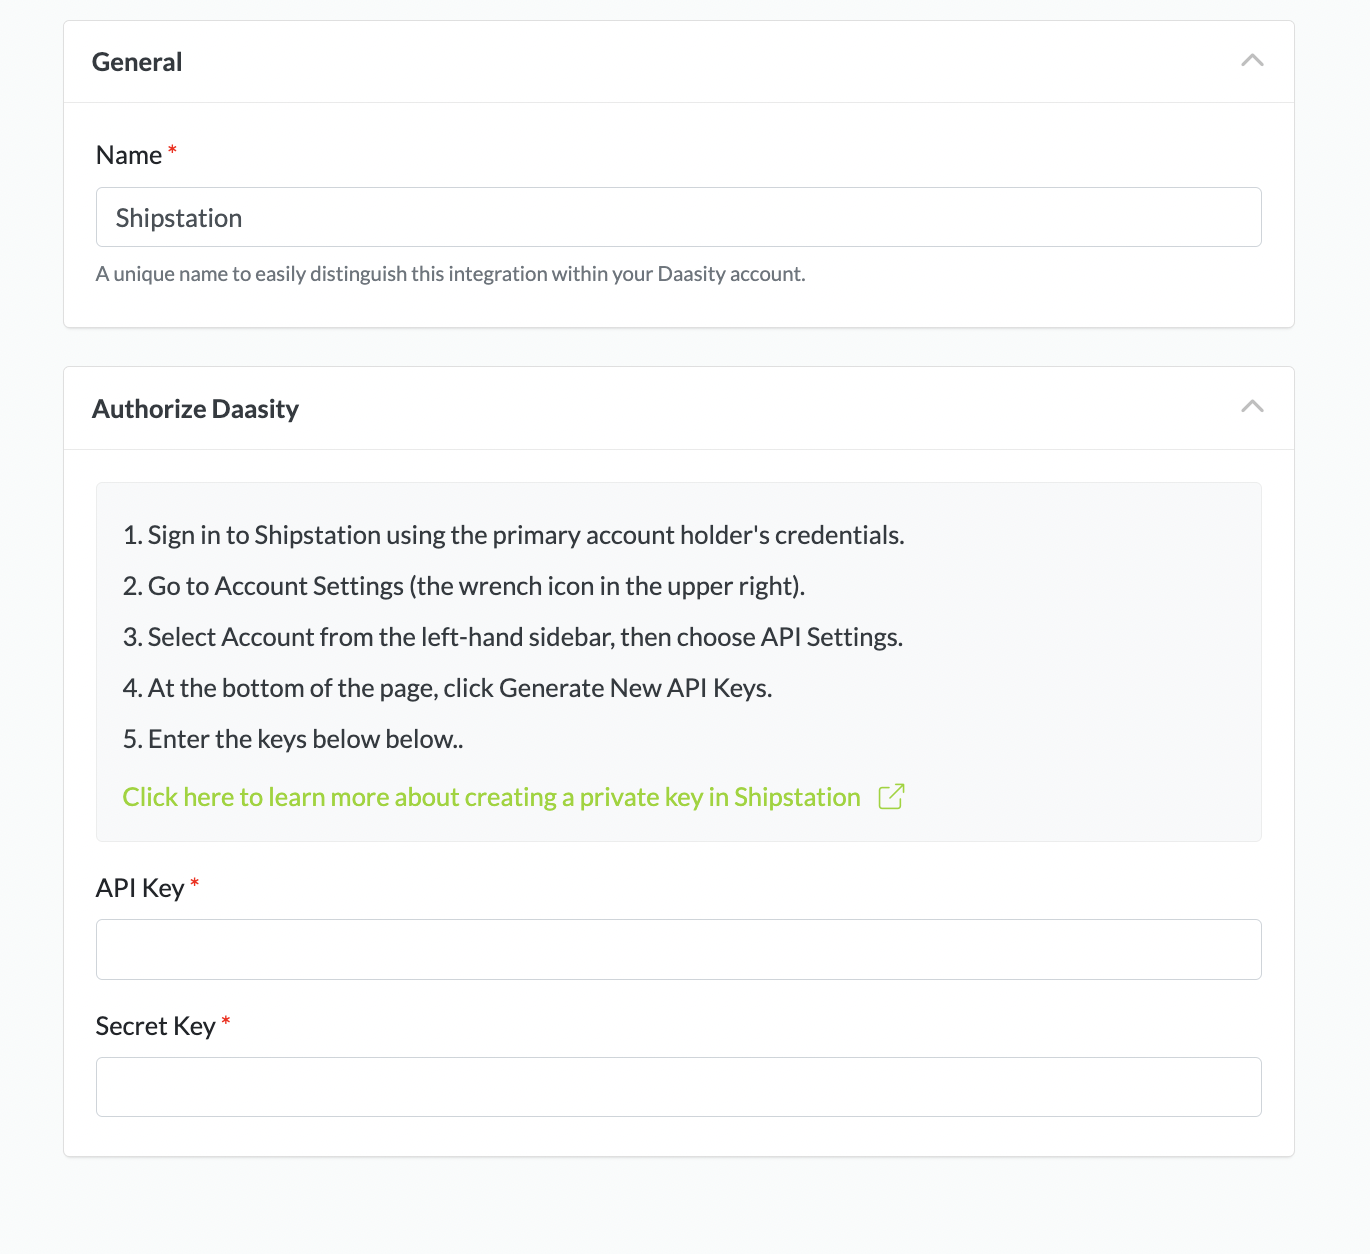
## Step 4: Authorize Daasity

### Login to Shipstation

### Generate API Keys

### Copy and Paste the Keys into Daasity

<figure><img src="https://content.gitbook.com/content/amTMWiPne1v1V3L7mbuj/blobs/A3nE7GXdeqDlEuW4kTMh/authorize%20shipstation.png" alt=""><figcaption><p>Follow the instructions to Generate API Keys</p></figcaption></figure>

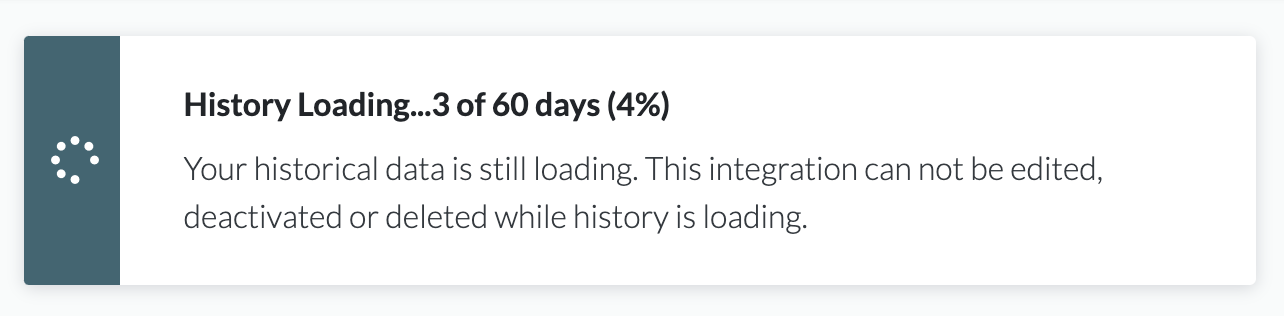
## Step 8: Load Historical Data

<figure><img src="https://content.gitbook.com/content/amTMWiPne1v1V3L7mbuj/blobs/YYP1bzNU9GpLCkEL7rKY/history%20loading.png" alt=""><figcaption><p>Historical Data Loading</p></figcaption></figure>