> For the complete documentation index, see [llms.txt](https://help.daasity.com/llms.txt). Markdown versions of documentation pages are available by appending `.md` to page URLs; this page is available as [Markdown](https://help.daasity.com/core-concepts/data-integrations/setup-guides/digital-integrations/retail-next/integration-setup.md).
# Integration Setup
To connect Retail Next please follow the steps below
{% hint style="warning" %}
You should get your Retail Next credentials which can be found in the Settings section under the Account tab prior to following the steps below
{% endhint %}
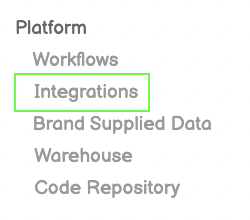
## Step 1: Navigate to Integrations
Navigate to the Integrations screen by clicking on Integrations on the left nav bar
## Step 2: Select New Integration
Click on New Integration on the top right
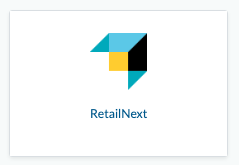
## Step 3: Select Retail Next
Find and click on the Retail Next icon
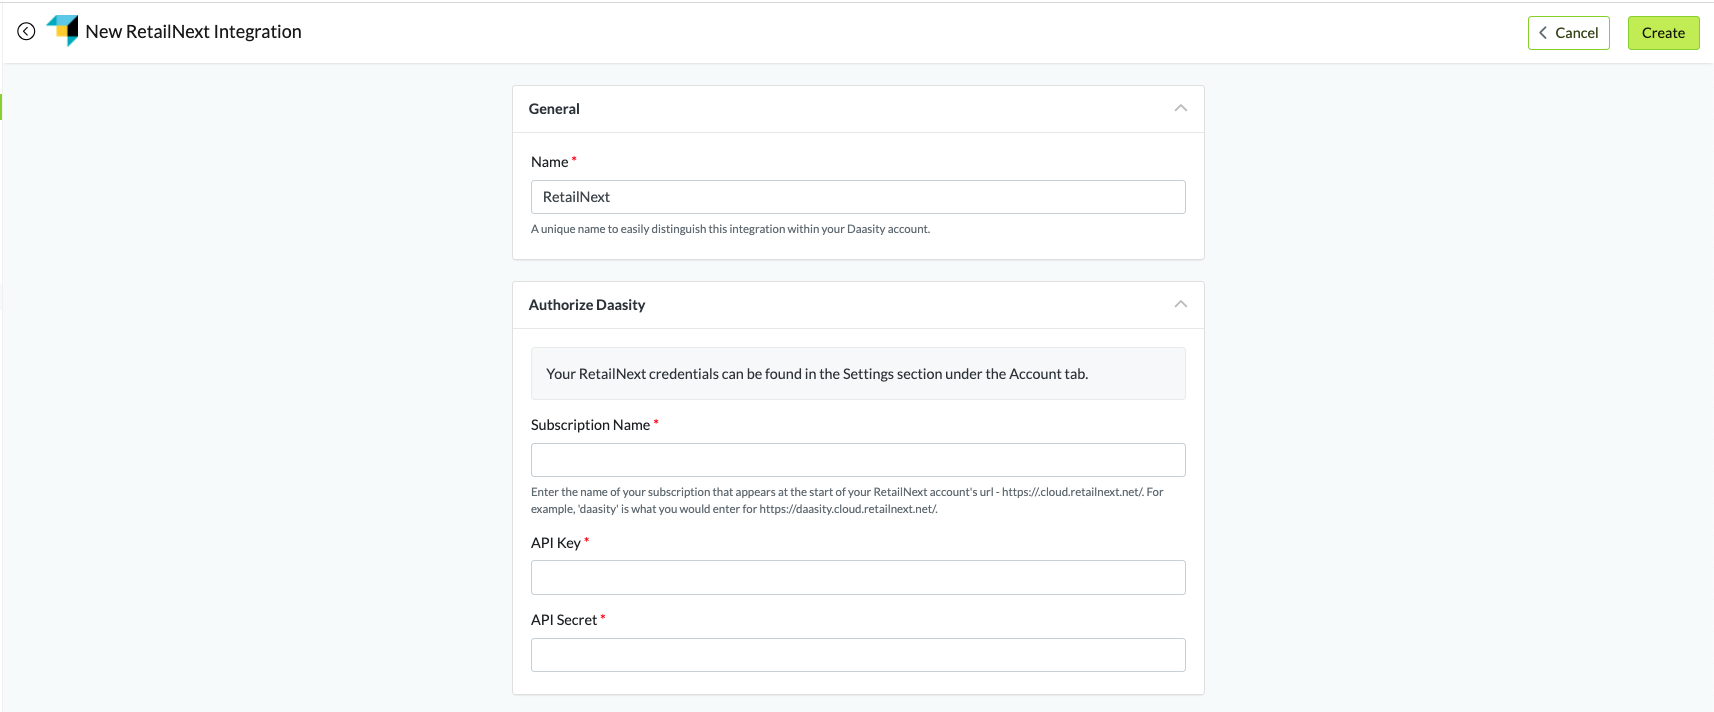
## Step 4: Create the Integration
* Give your Integration a name
* Enter the Subscription Name, API Key and API Secret
* Click on Create in the upper right once the fields have been completed
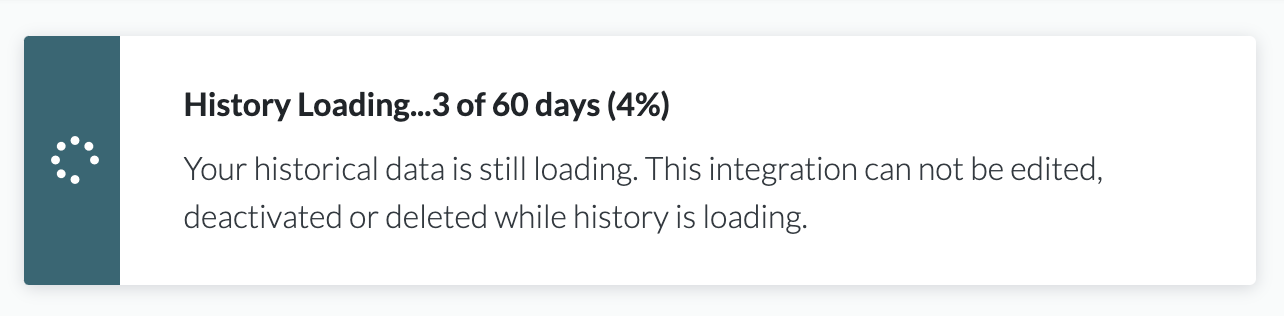
## Step 5: Load Historical Data