> For the complete documentation index, see [llms.txt](https://help.daasity.com/llms.txt). Markdown versions of documentation pages are available by appending `.md` to page URLs; this page is available as [Markdown](https://help.daasity.com/core-concepts/data-integrations/setup-guides/digital-integrations/gorgias/integration-setup.md).
# Integration Setup
To Connect Gorgias to Daasity Please follow the steps below.
**You will need Owner Access of your Gorgias Account to Connect to Daasity**
## Step 1: Navigate to the "new integration" screen
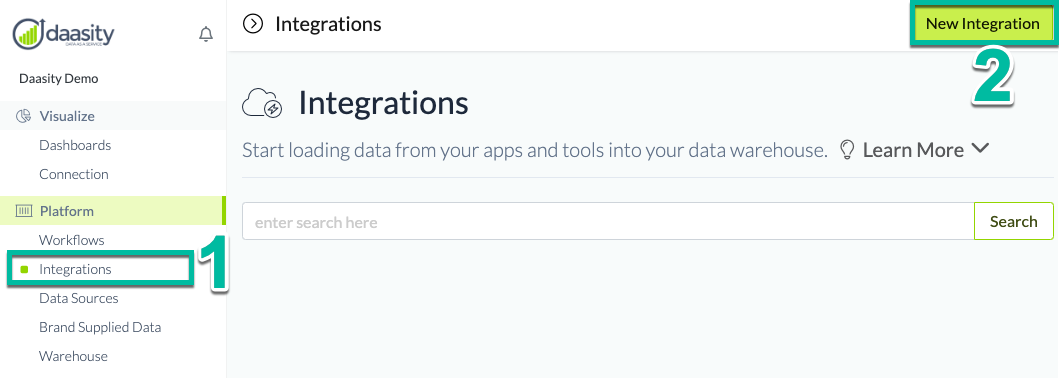
Click on **Integrations** on the left nav bar and then click on **New Integration** in the upper right:
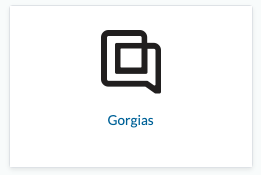
## Step 2: Click on the Gorgias icon
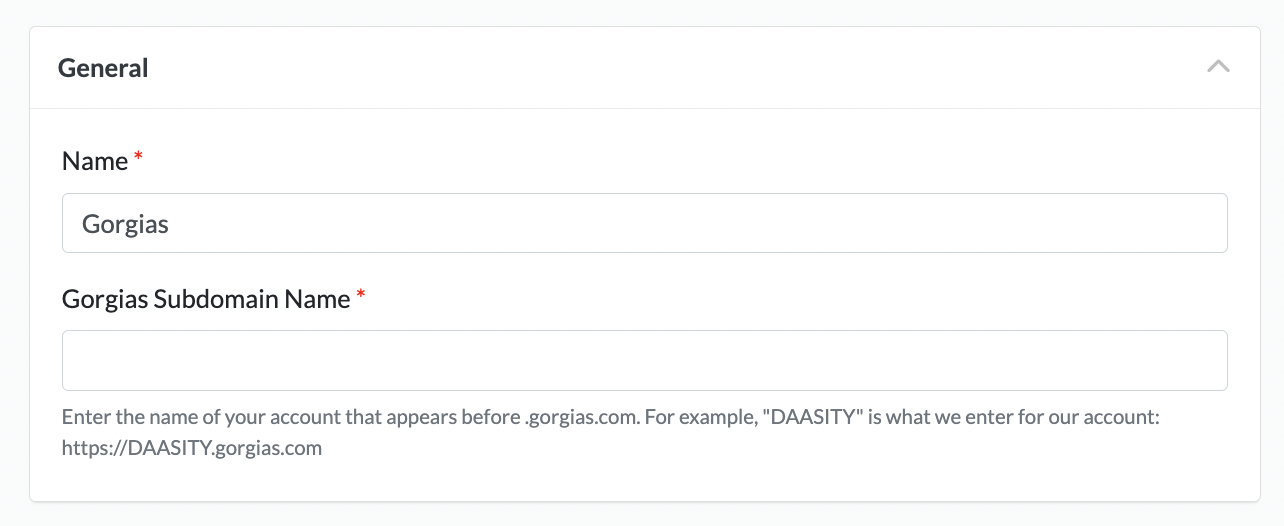
## Step 4: Name the integration & enter your Gorgias subdomain
The **Name** will be the name of the integration displayed in the Daasity app.
The **Gorgias Subdomain Name** will be the first portion of the URL of your Gorgias admin. For example, if when you log into Gorgias, the URL is `https://daasity.gorgias.com`, the subdomain value would be `daasity`.
## Step 5: Authorize Daasity
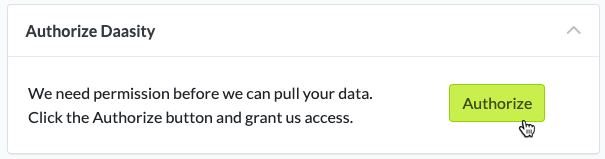
Make sure you are logged in to your Gorgias account, and then click **Authorize**.