> For the complete documentation index, see [llms.txt](https://help.daasity.com/llms.txt). Markdown versions of documentation pages are available by appending `.md` to page URLs; this page is available as [Markdown](https://help.daasity.com/core-concepts/audiences-reverse-elt/pushing-audience-data-to-targets/tiktok-ads/tiktok-target.md).
# TikTok Target
This page provides instructions on how to setup the TikTok Ads Target and push data into your TikTok Ads account to build segments in Tiktok
## Overview
In order to push data into TikTok you will need to complete the following steps:
1. Create a new TikTok Audiences Target ([Create Target](#create-target))
2. Name the target ([General Setup](#general-setup))
3. Allow Daasity to access your TikTok account ([Authorize Daasity](#authorize-daasity))
4. Define the report or query that will be used to create the segment ([Audience Setup](#audience-setup))
5. Select and map any additional data fields to push into the TikTok Audiences ([Data Mapping](#data-mapping))
6. Decide how often and when the target should run ([Target Schedule](#target-schedule))
7. Complete the setup ([Finish Creation](#finish-creation))
{% hint style="danger" %}
TikTok works a little differently from many other platforms as you **CANNOT** push additional data into TikTok. In order to incorporate segments into TikTok you need to build each as a separate Audience.
{% endhint %}
### Create Target
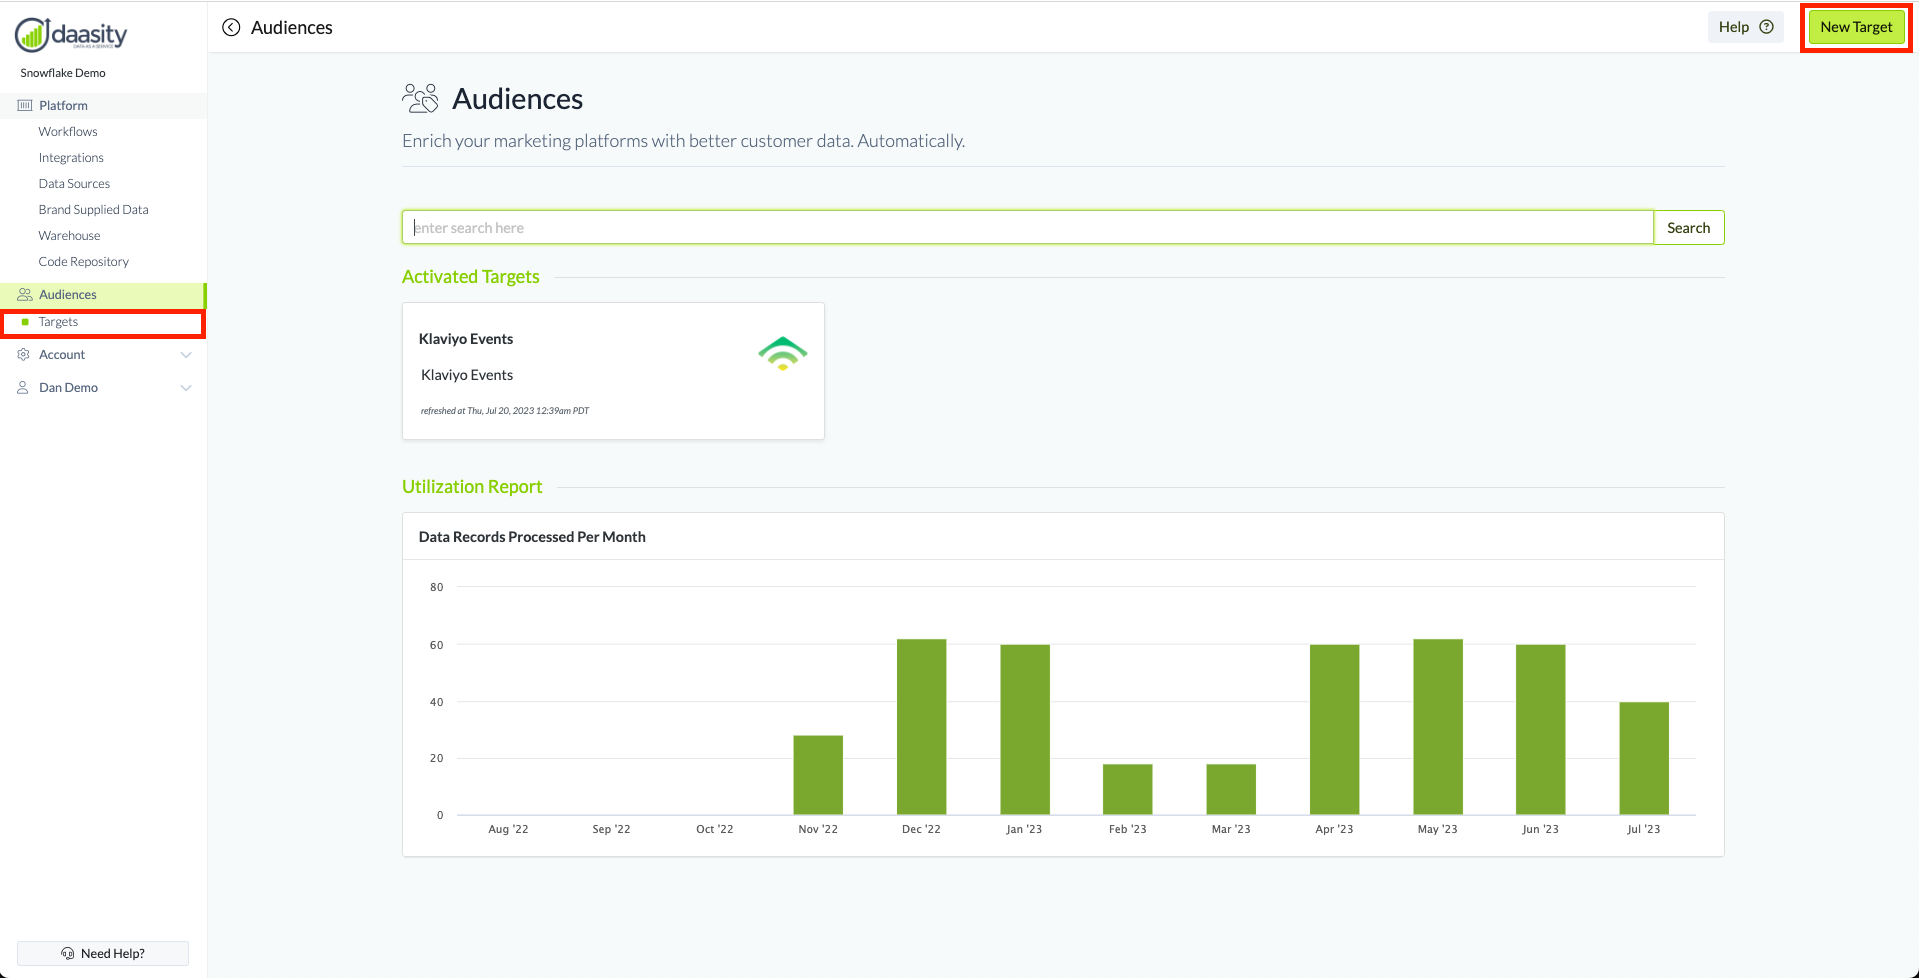
Navigate to the Targets main page from the left nav and click on New Target in the top right:
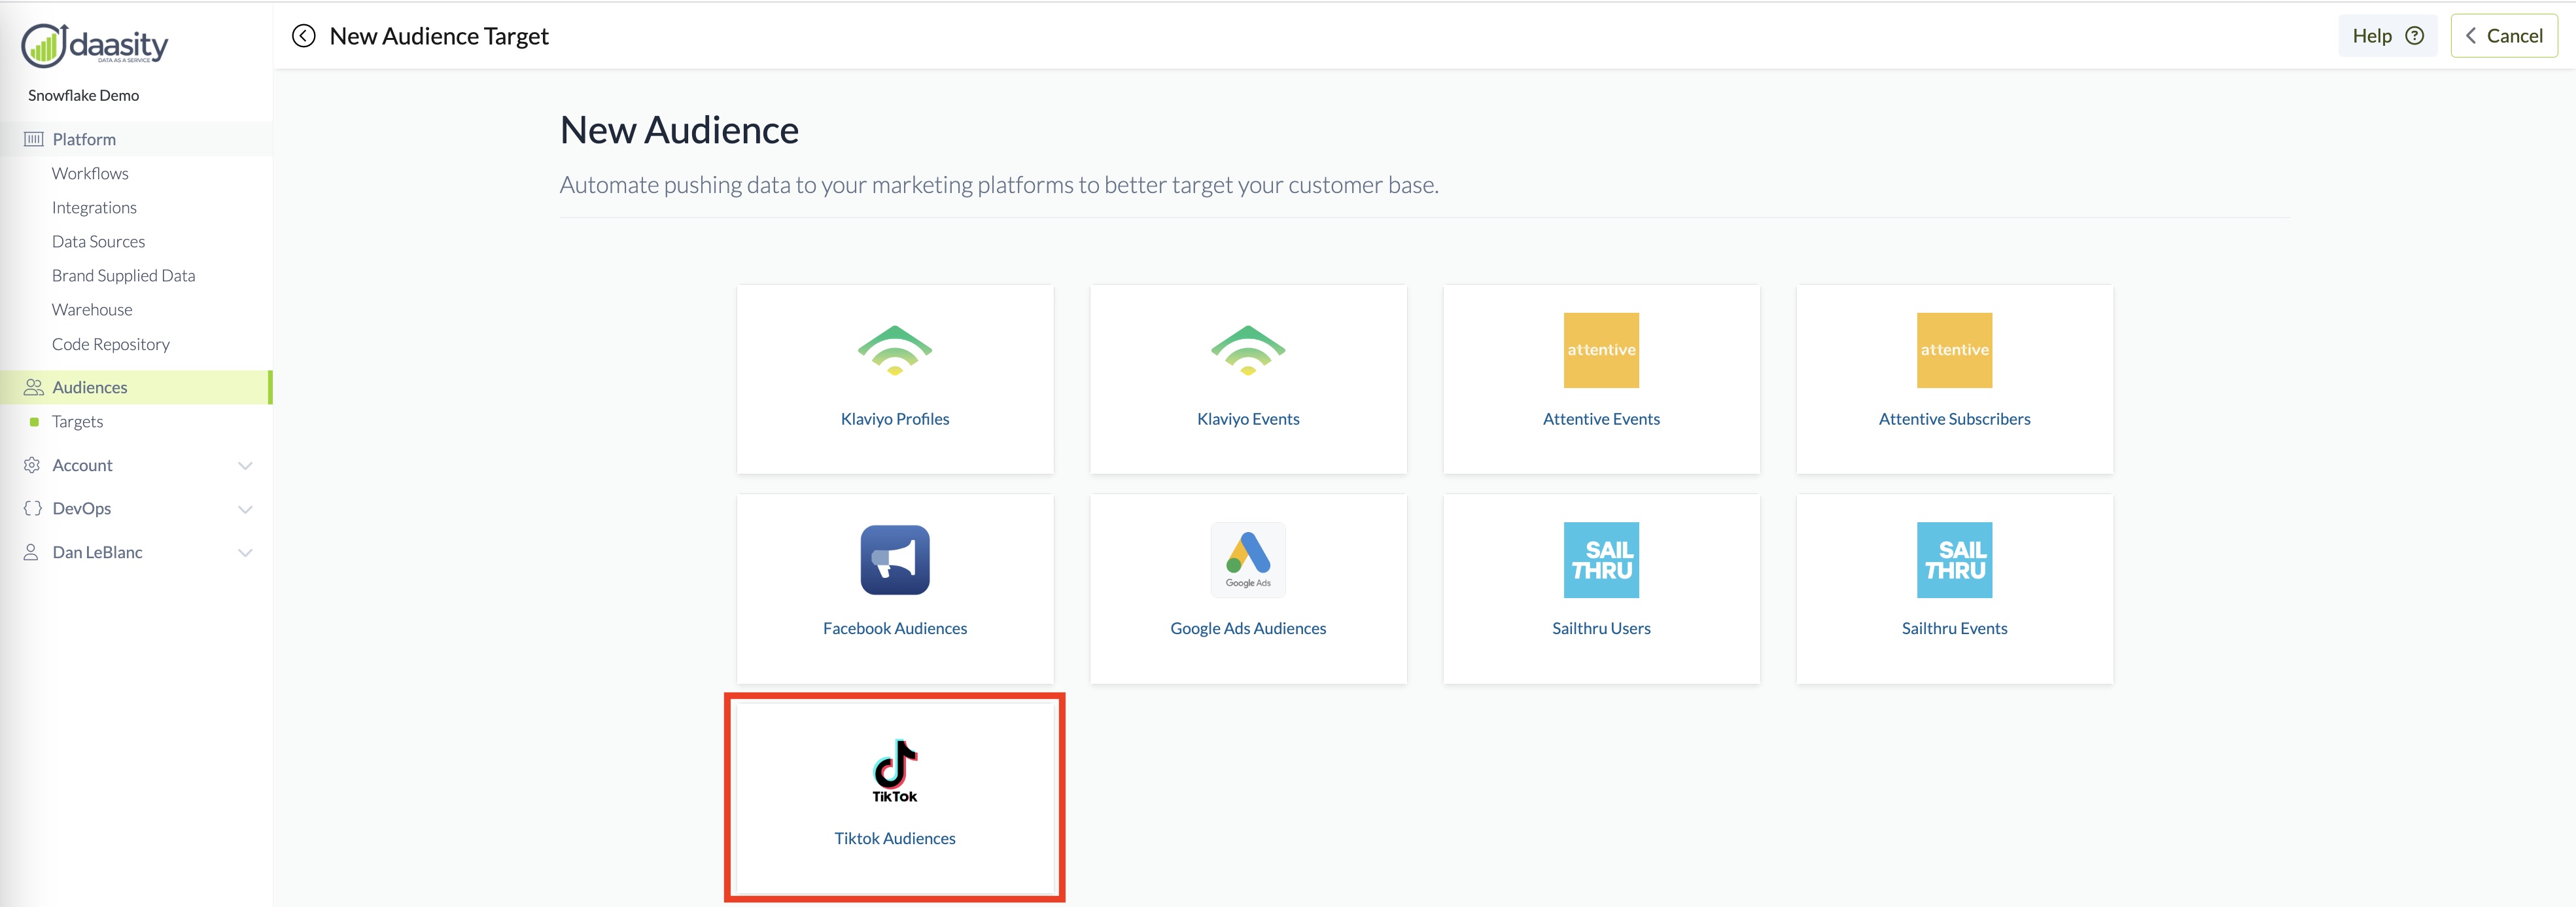
Then select "Tiktok Audiences":
### General Setup
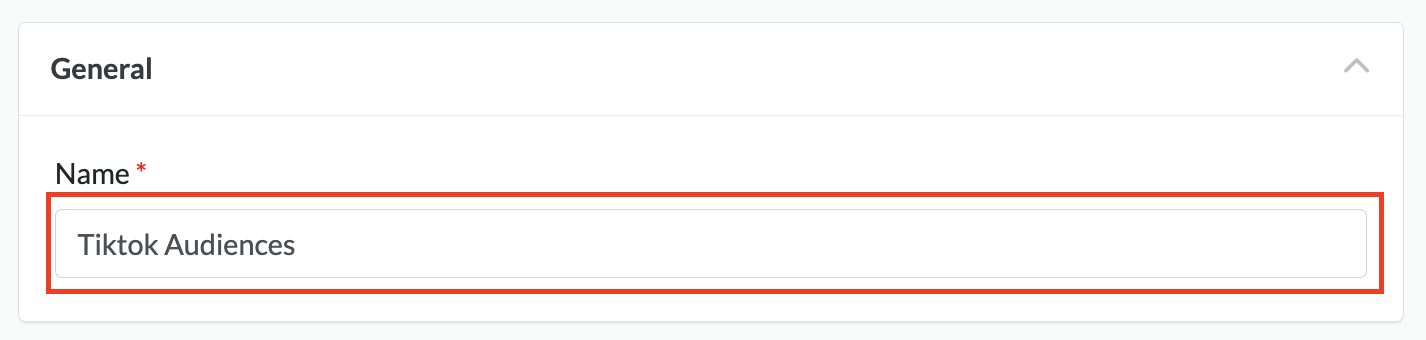
Give your new Target a name so you can find it in the Daasity platform by naming the Target in the red box below
### Authorize Daasity
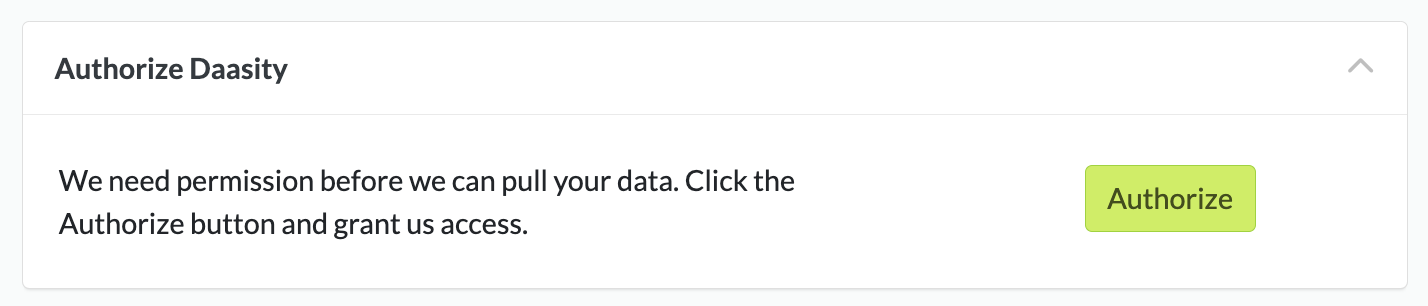
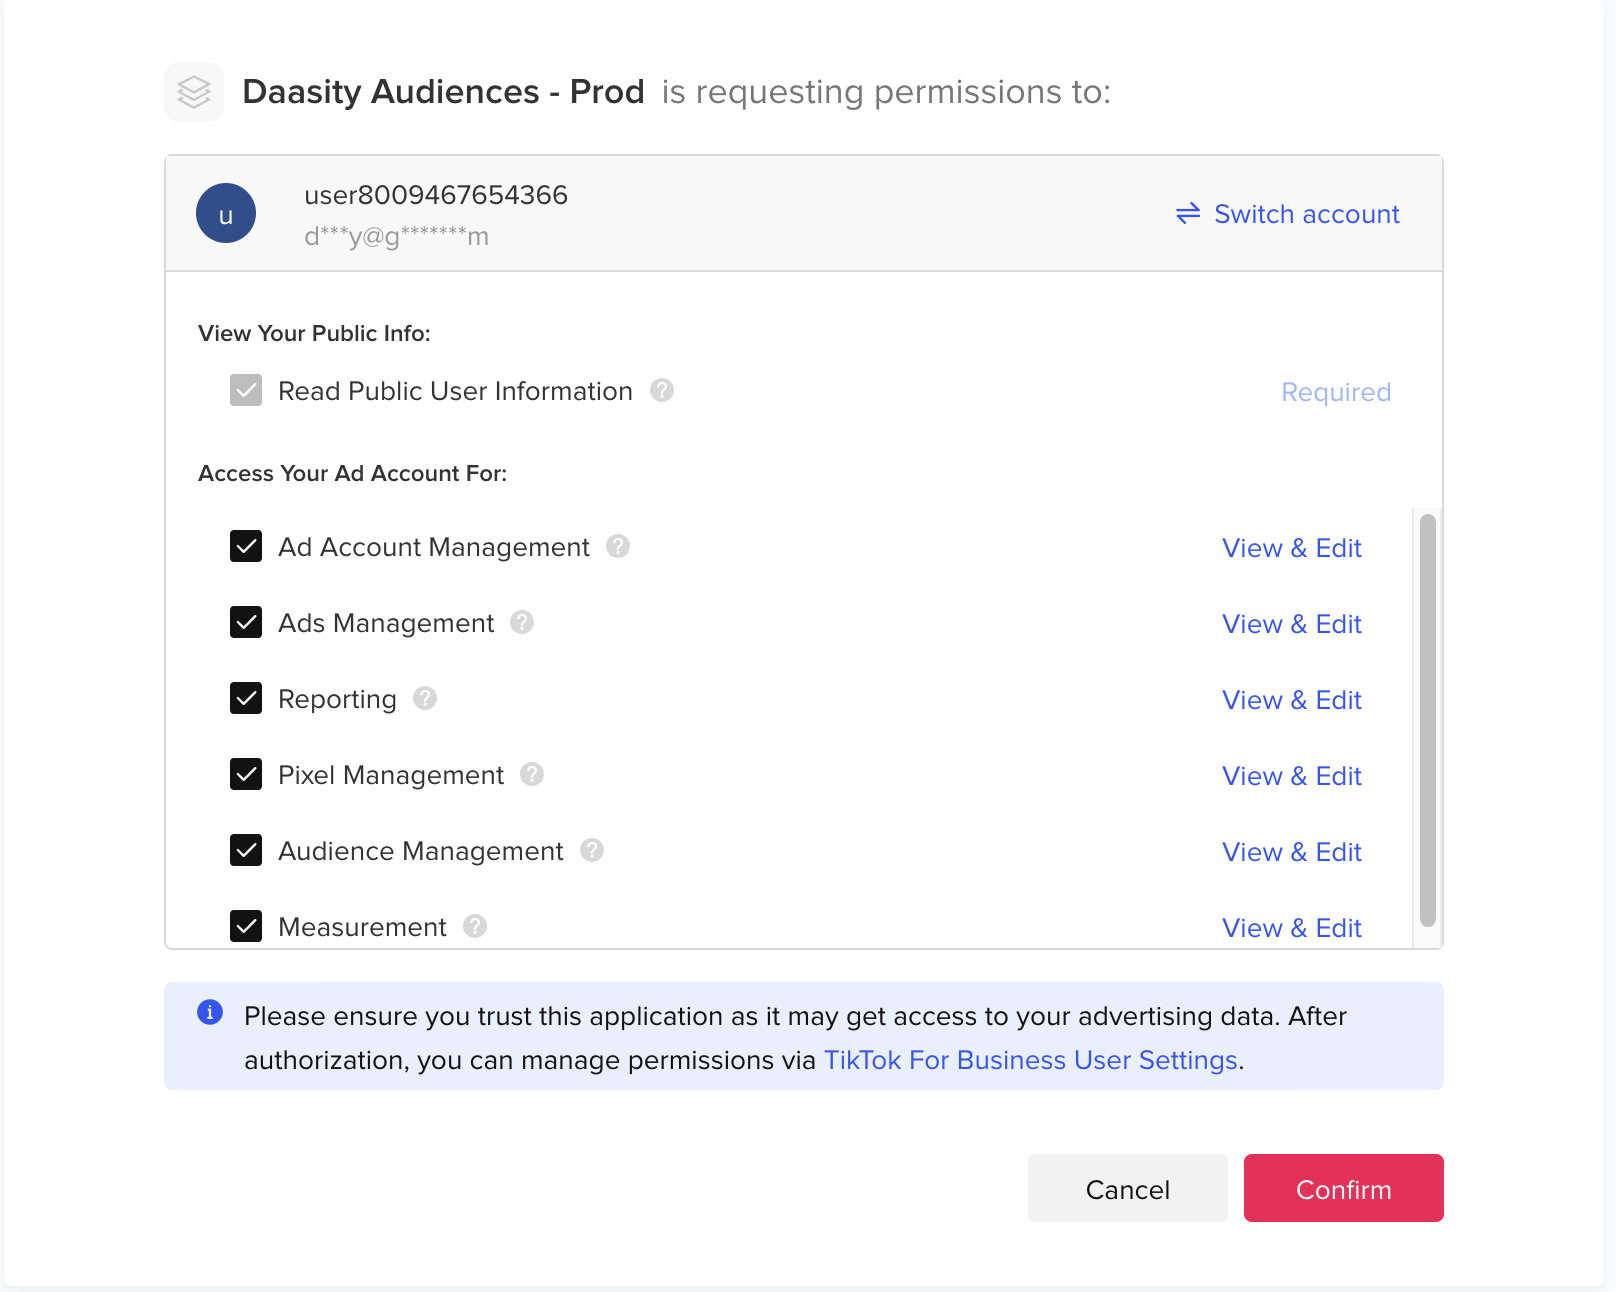
You need to authorize Daasity by clicking on the Authorize button, which will redirect you to TikTok and ask you to Accept the integration:
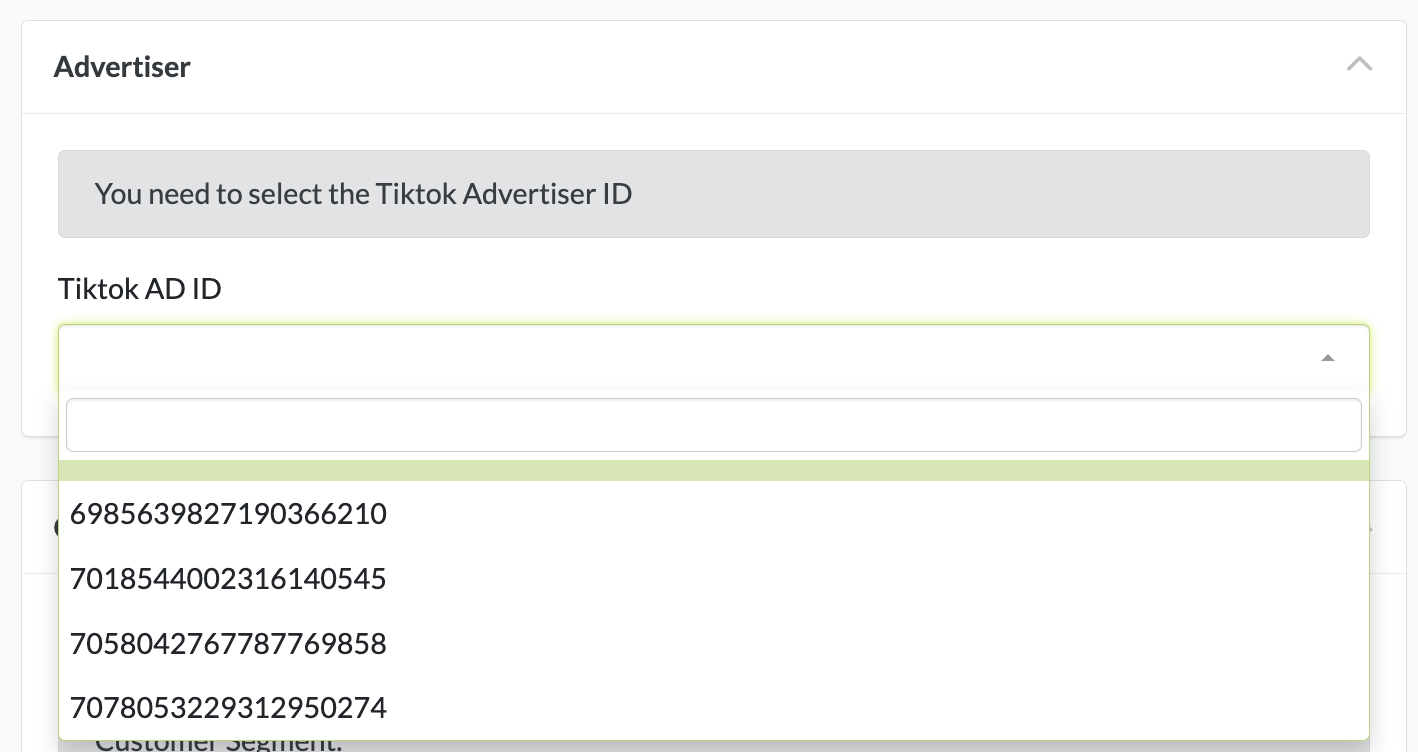
You may need to select the TikTok Advertiser ID if you have access to multiple ad accounts. Selecting the Advertiser ID will determine which Ad account you will be pushing the audience data into:
### Audience Setup
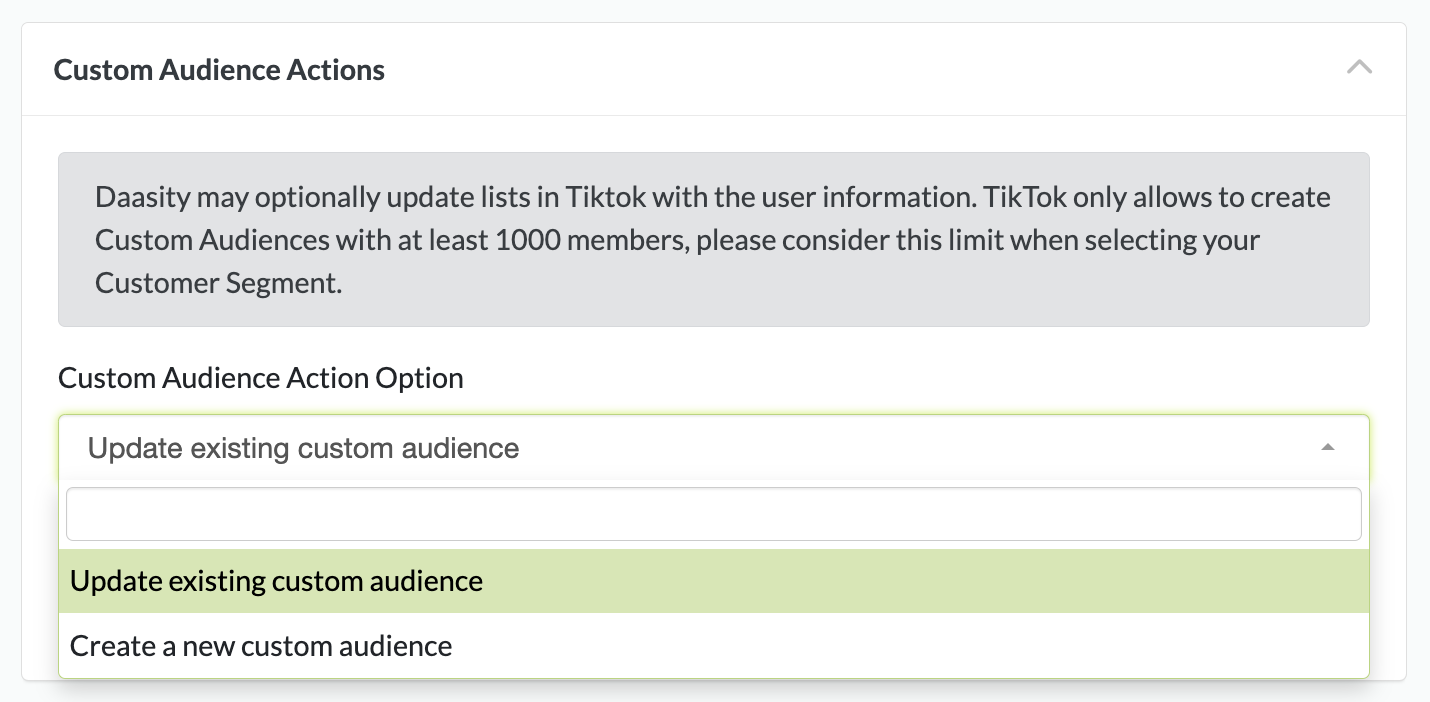
Select if you want to create a new TikTok audience or update an existing Audience by making your choice in the Custom Audience Action Option dropdown:
From here you will either enter the name of your new audience:
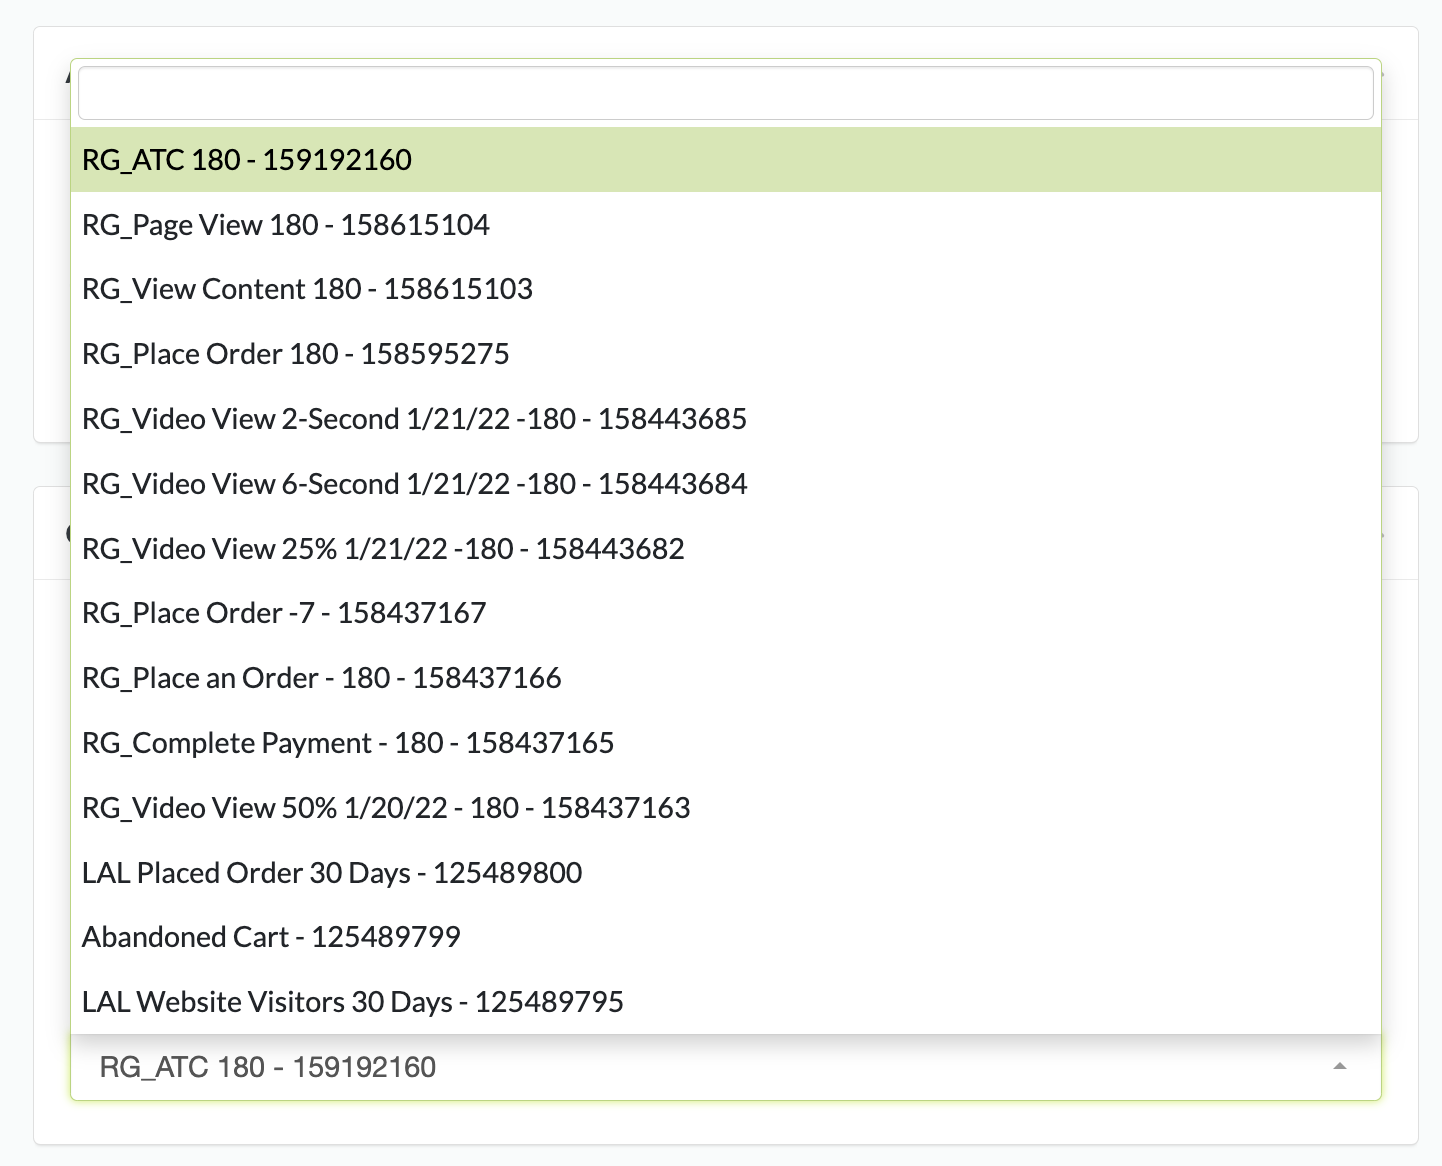
Or select an existing audience:
{% hint style="success" %}
Because TikTok only allows you to map users via email or phone into an Audience we recommend giving the name of the Audience something very descriptive. You essentially build you segments in TikTok by creating multiple Audiences
{% endhint %}
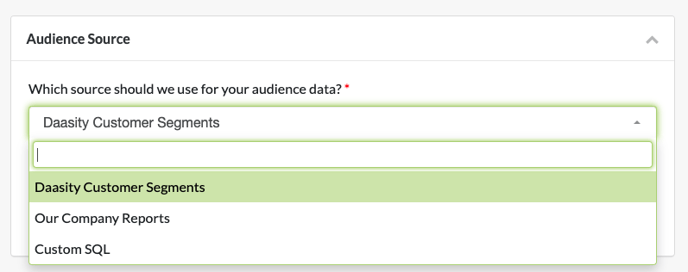
### Audience Source
Select the source for the Audience that you want to use for this Target by using the drop-downs below. For more information on how to setup the different Audience Sources see our article on [Building Audiences](/core-concepts/audiences-reverse-elt/building-audiences.md).
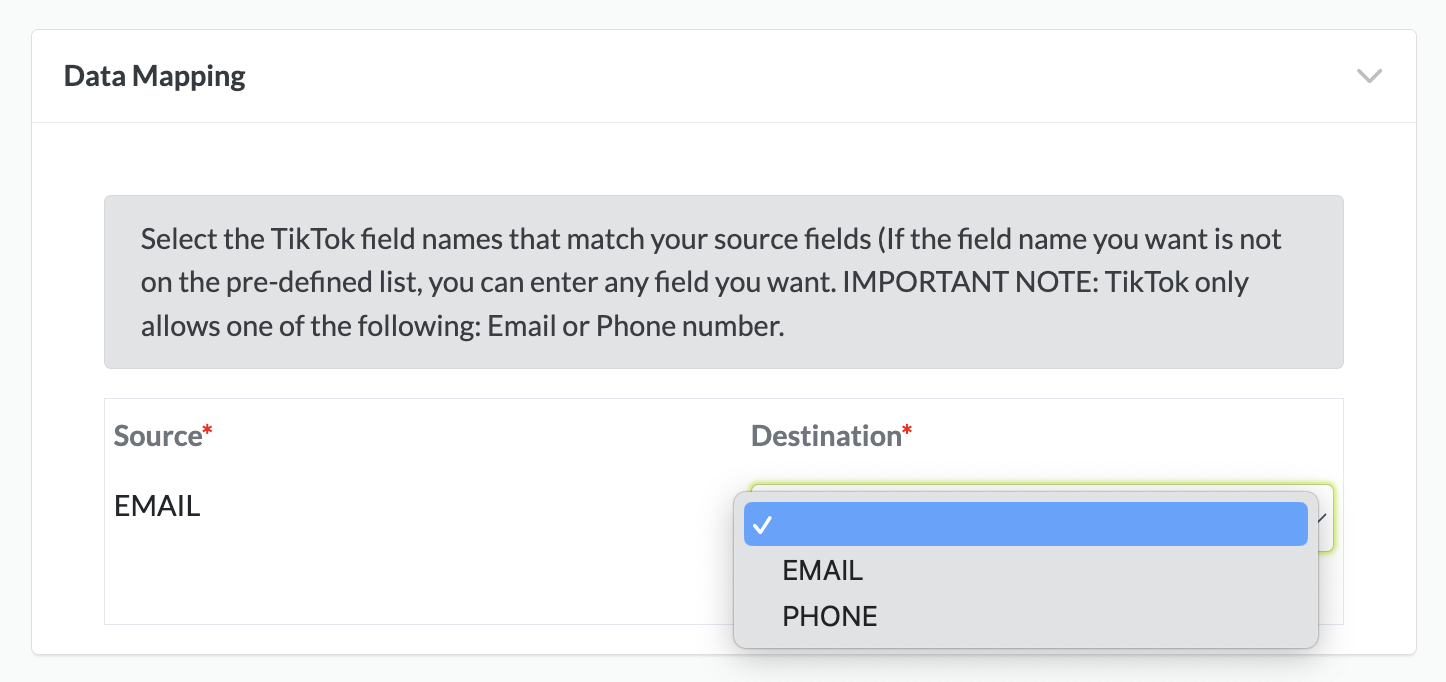
### Data Mapping
Once the Audience Source has been selected, the Daasity platform will extract a sample file to determine what data is returned from the extract and list the Source fields that are available to be mapped.
Select or enter the Destination for each Source that you want mapped and pushed to your TikTok Audience. If you leave a Destination blank, then Daasity will not push that data element into the Target.
{% hint style="warning" %}
* Your file must have at least 1,000 records in order for TikTok to build a custom audience.
* You will need to contact your TikTok account manager to use email or phone for matching.
{% endhint %}
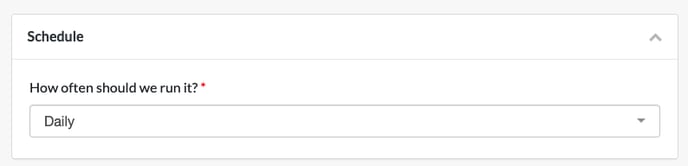
### Target Schedule
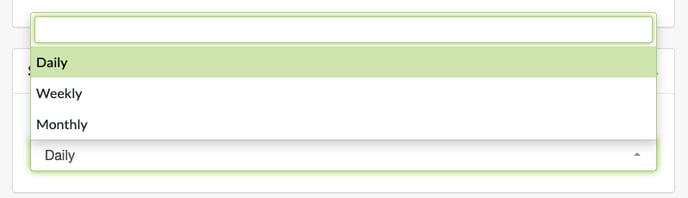
You need to schedule your target. Possible selections are:
* Daily
* Weekly (select the day of the week)
* Monthly (select the day of the month)
The Target will run after the daily workflow is completed on the schedule selected.
### Finish Creation
Once all of the above steps have been completed you can finish creating the TikTok Target by clicking on "Save" in the top right.

 ### Data Mapping
Once the Audience Source has been selected, the Daasity platform will extract a sample file to determine what data is returned from the extract and list the Source fields that are available to be mapped.
Select or enter the Destination for each Source that you want mapped and pushed to your TikTok Audience. If you leave a Destination blank, then Daasity will not push that data element into the Target.
{% hint style="warning" %}
* Your file must have at least 1,000 records in order for TikTok to build a custom audience.
* You will need to contact your TikTok account manager to use email or phone for matching.
{% endhint %}
### Data Mapping
Once the Audience Source has been selected, the Daasity platform will extract a sample file to determine what data is returned from the extract and list the Source fields that are available to be mapped.
Select or enter the Destination for each Source that you want mapped and pushed to your TikTok Audience. If you leave a Destination blank, then Daasity will not push that data element into the Target.
{% hint style="warning" %}
* Your file must have at least 1,000 records in order for TikTok to build a custom audience.
* You will need to contact your TikTok account manager to use email or phone for matching.
{% endhint %}
 ### Finish Creation
Once all of the above steps have been completed you can finish creating the TikTok Target by clicking on "Save" in the top right.
### Finish Creation
Once all of the above steps have been completed you can finish creating the TikTok Target by clicking on "Save" in the top right.
